
Design. Build. Maintain. Beautiful Landscapes.
Design. Build. Maintain. Beautiful Landscapes.


20+ Years

BS Ornamental Horticulture

5-Year Hardscape Warranty
The DELIS Difference
At DELIS Landscaping, our team of skilled professionals and conscientious crews deliver exceptional service rooted in the highest standards of horticulture. We bring a customer-first mindset to every project and continuously invest in training and education to stay ahead of industry best practices, emerging technologies, and evolving safety guidelines.
Over 20 Years of Local Expertise
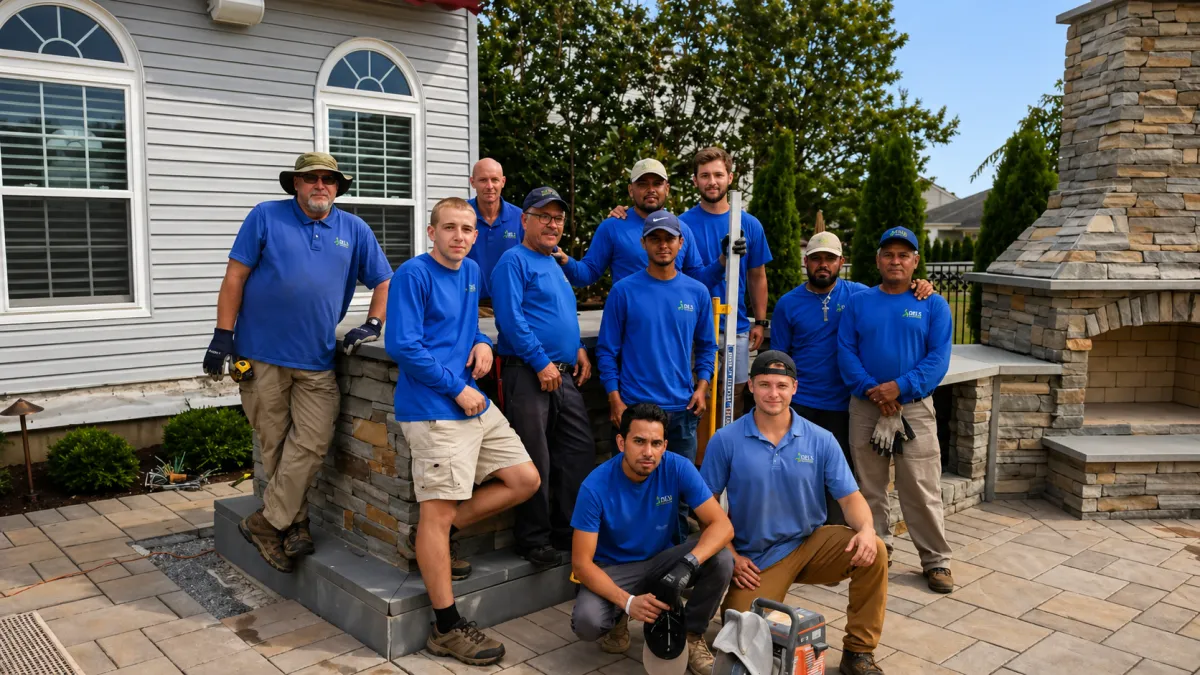
For more than two decades, DELIS has proudly served Central New Jersey and Bucks County, Pennsylvania. Our deep experience—supported by a Bachelor of Science in Ornamental Horticulture—enables us to provide superior residential landscape services, including design, installation, estate and lawn maintenance, and seasonal care. We’re committed to enhancing your property’s value and ensuring the longevity and beauty of your landscape for years to come.
What We Do
Whether you're starting with a sketch on a napkin or a fully-developed plan, we design and build the whole project under one roof.
Design
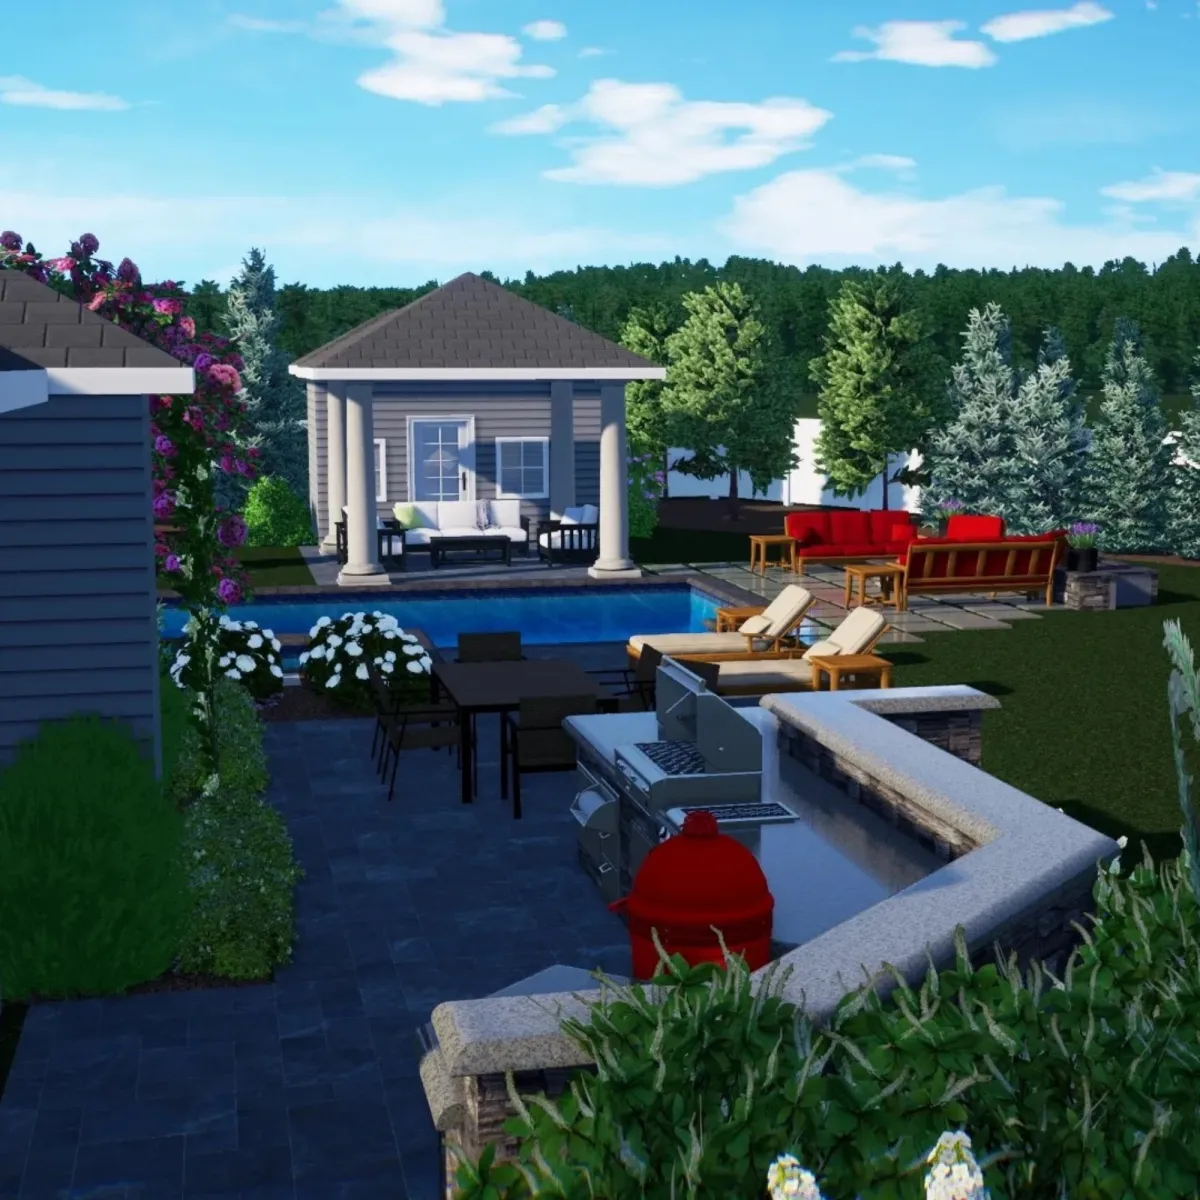
2D / 3D Visualization Design
Clear, detailed landscape plans and realistic 3D renderings that allow you to see your project before construction begins, ensuring confidence in every design decision.
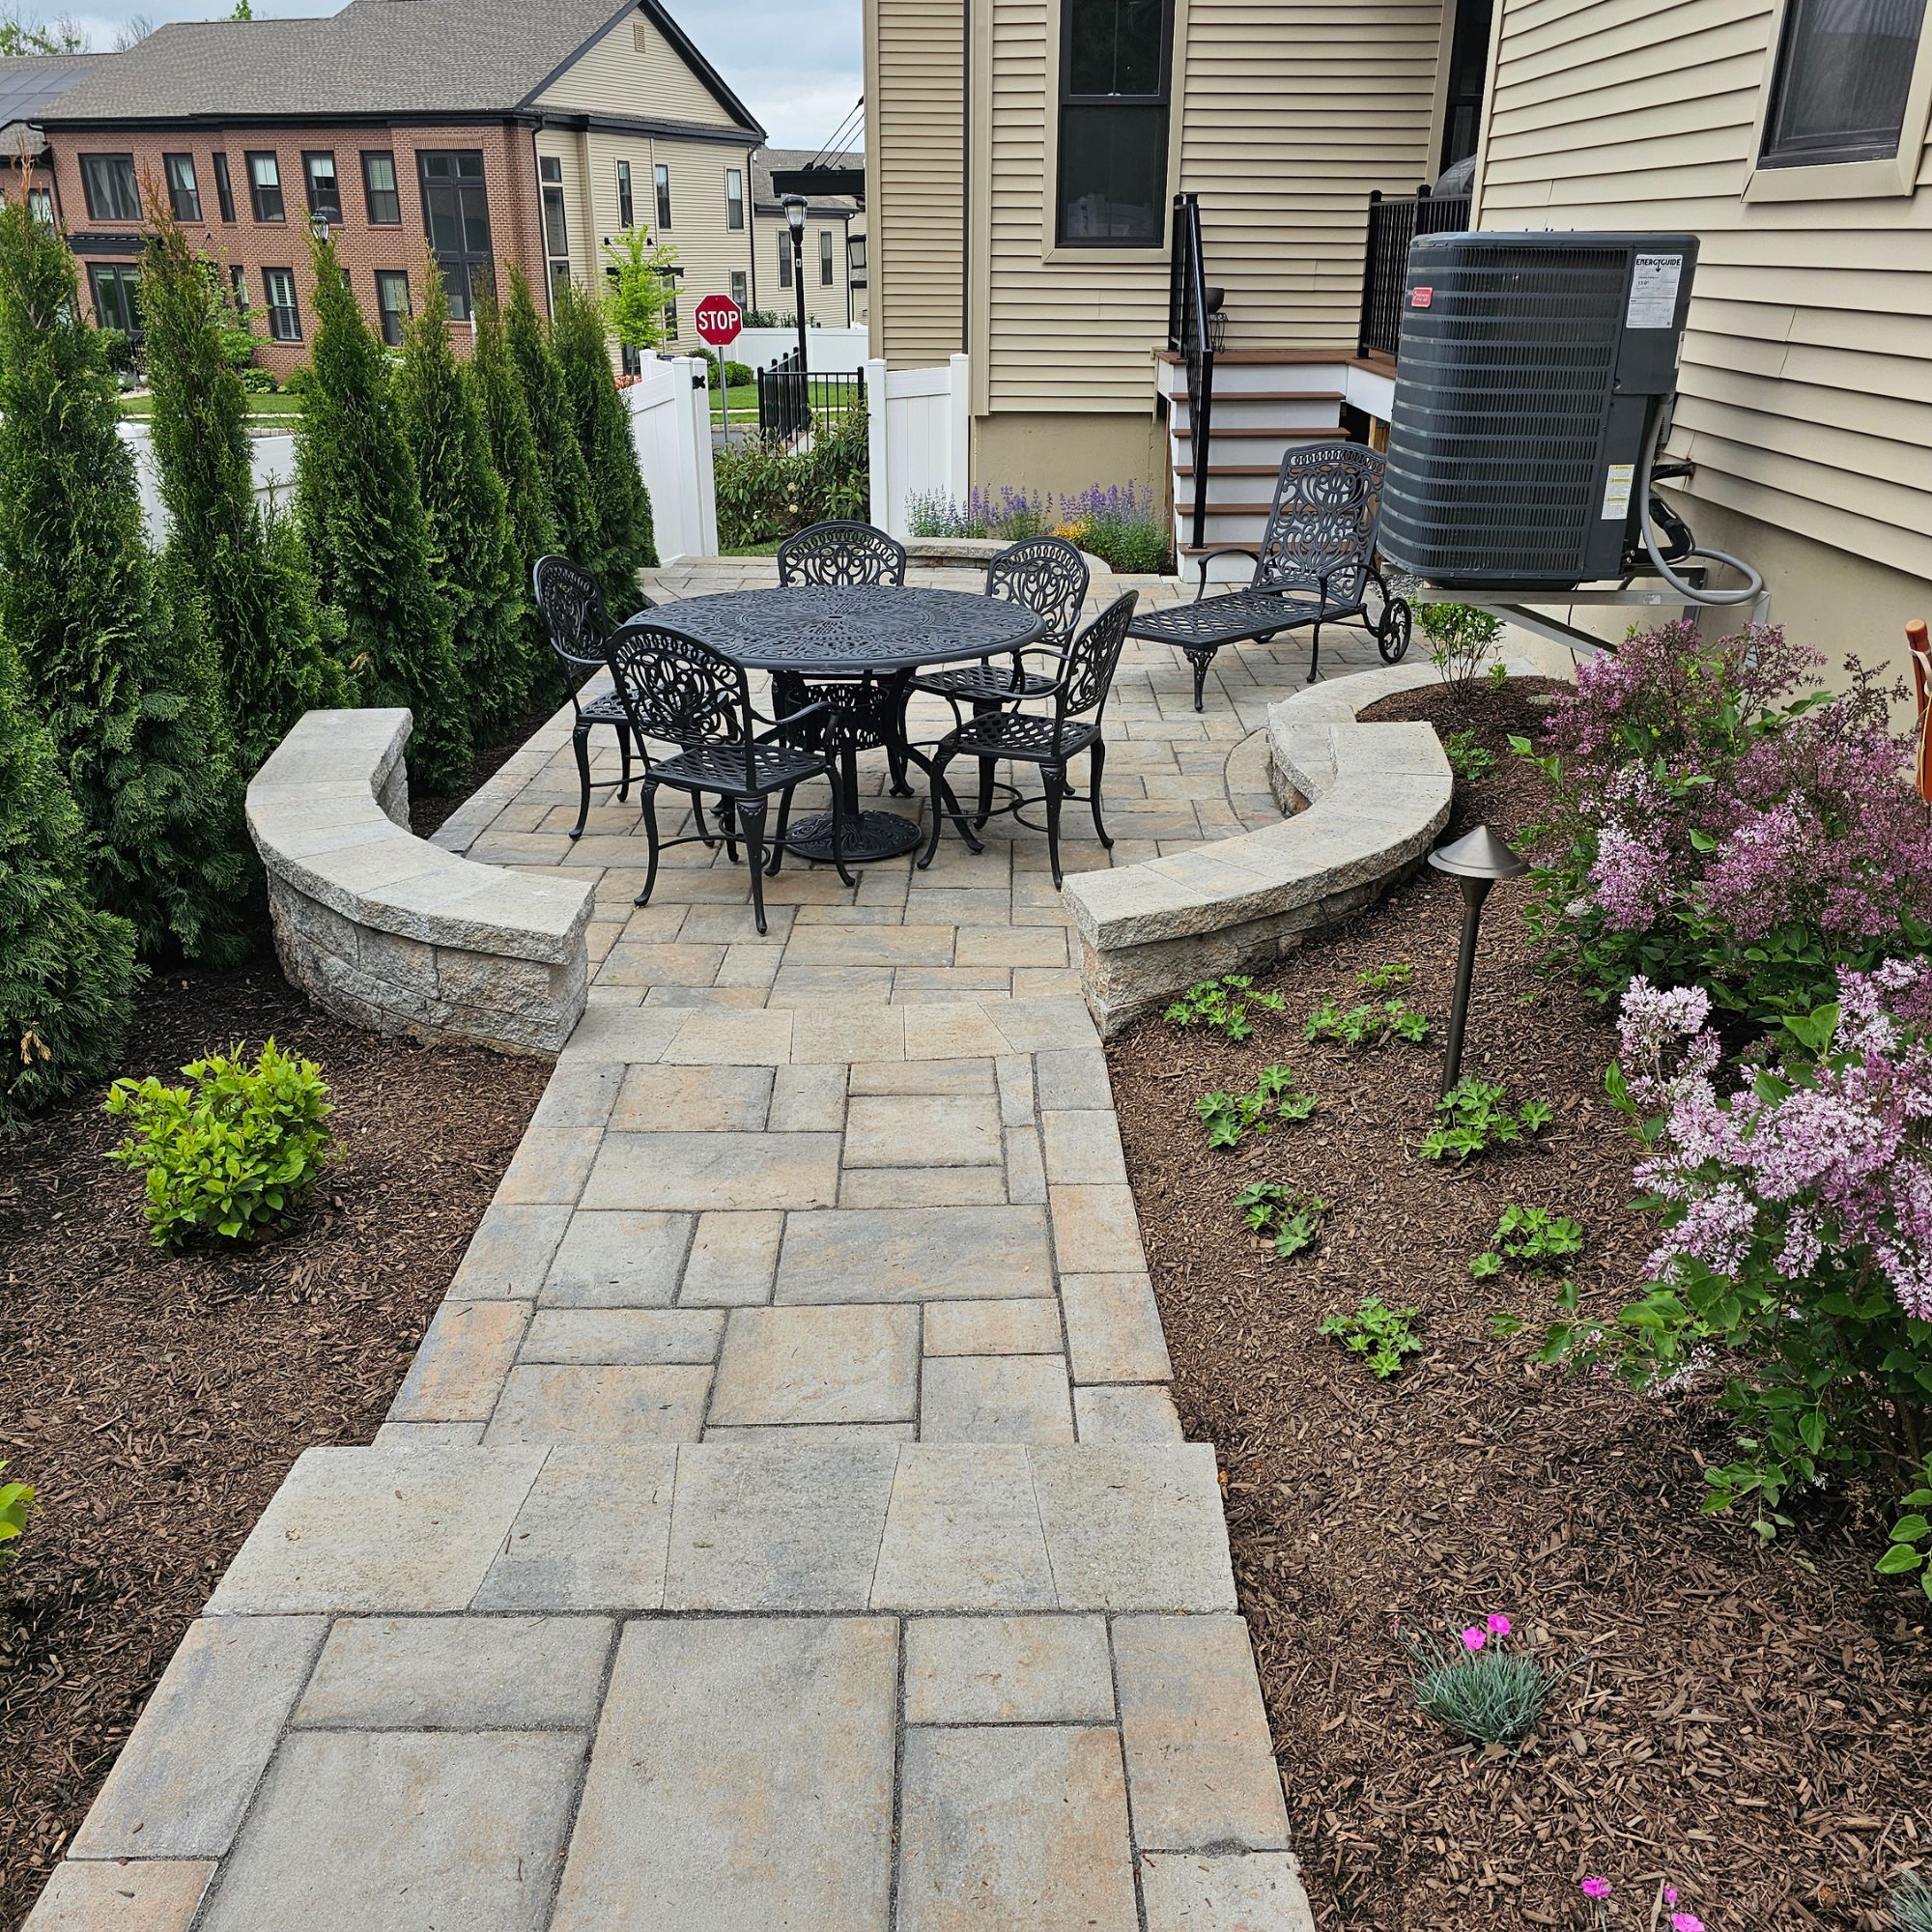
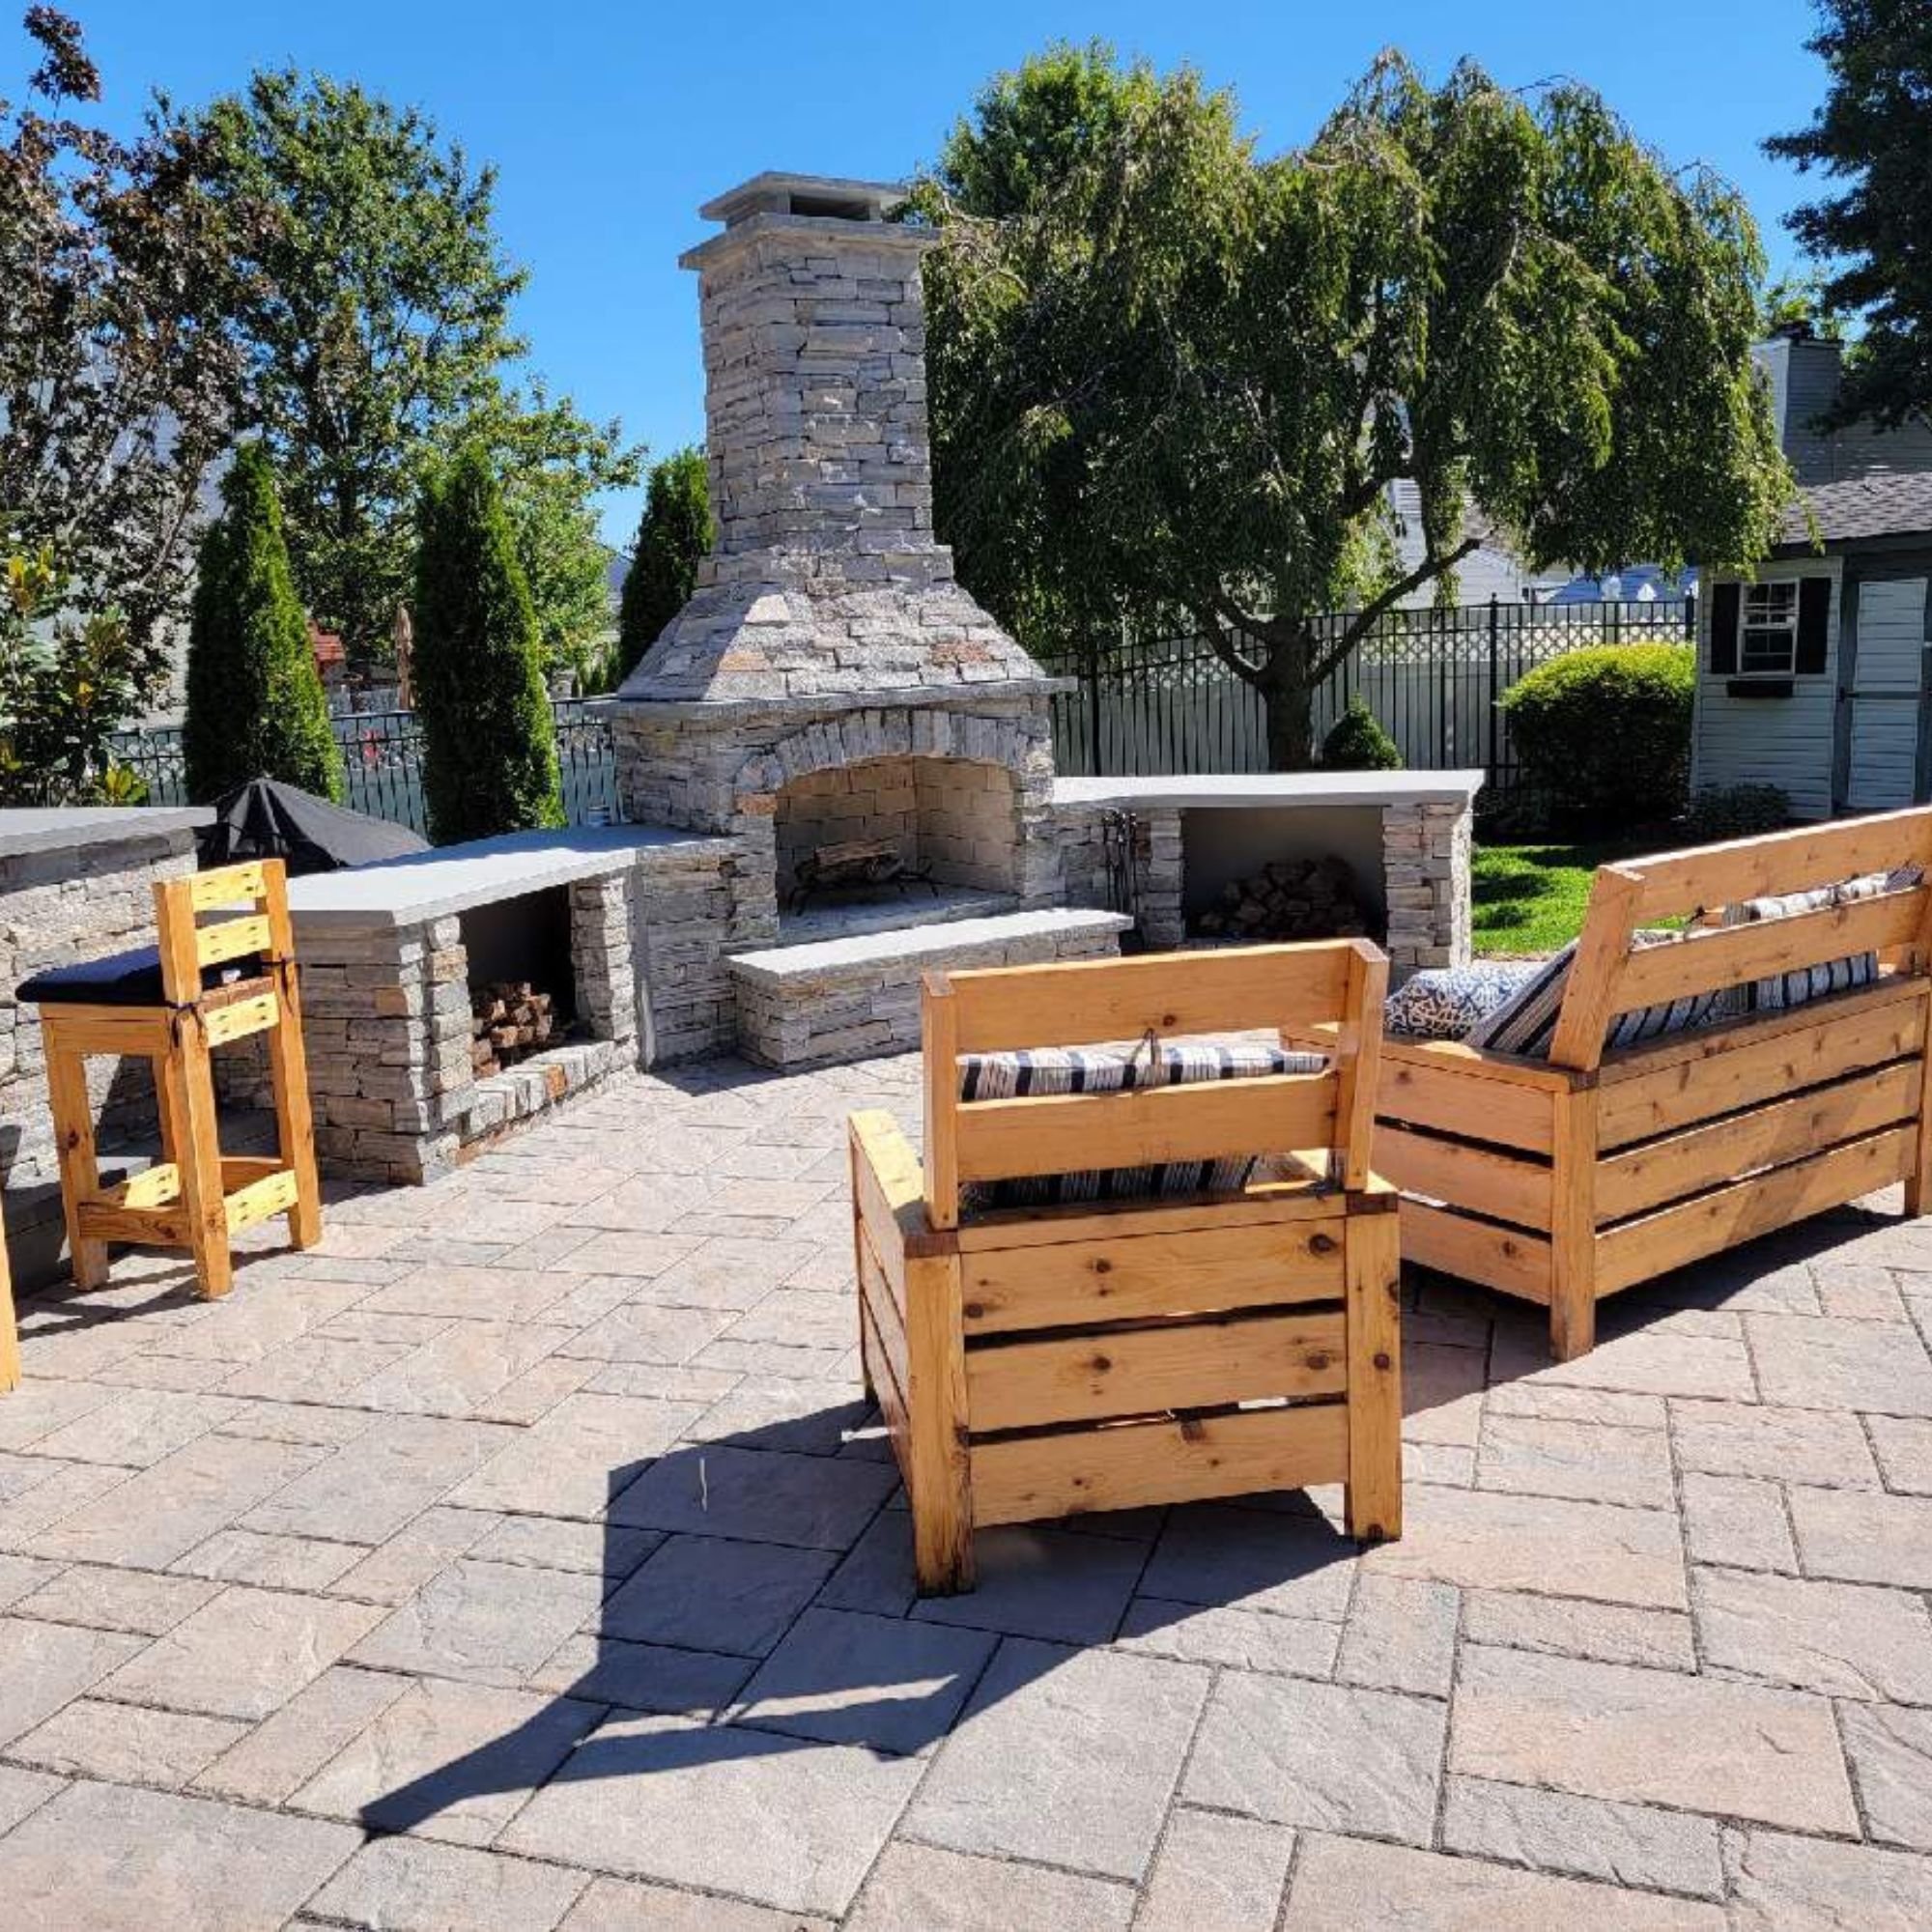
Outdoor Living Spaces
Custom-designed patios, kitchens, fire features, and gathering spaces that extend your home outdoors and enhance how you live and entertain.
Pools
Thoughtfully designed pools that integrate seamlessly with your landscape, balancing aesthetics, functionality, and long-term enjoyment.
Native Plantings
Environmentally responsible plant designs using native species to support local ecosystems while creating beautiful, low-maintenance landscapes.
Estate Maintenance
Ornamental Care
Professional pruning, deadheading, and bed maintenance to keep shrubs, perennials, and ornamental plantings healthy, balanced, and visually refined throughout the season.
Care of Landscape Plants
Ongoing monitoring and maintenance of trees, shrubs, and plantings, including disease and pest observation, seasonal adjustments, and spot care to promote long-term plant health.
Snow Removal
Reliable snow and ice management services to maintain safe access to driveways, walkways, and entrances during winter weather events.
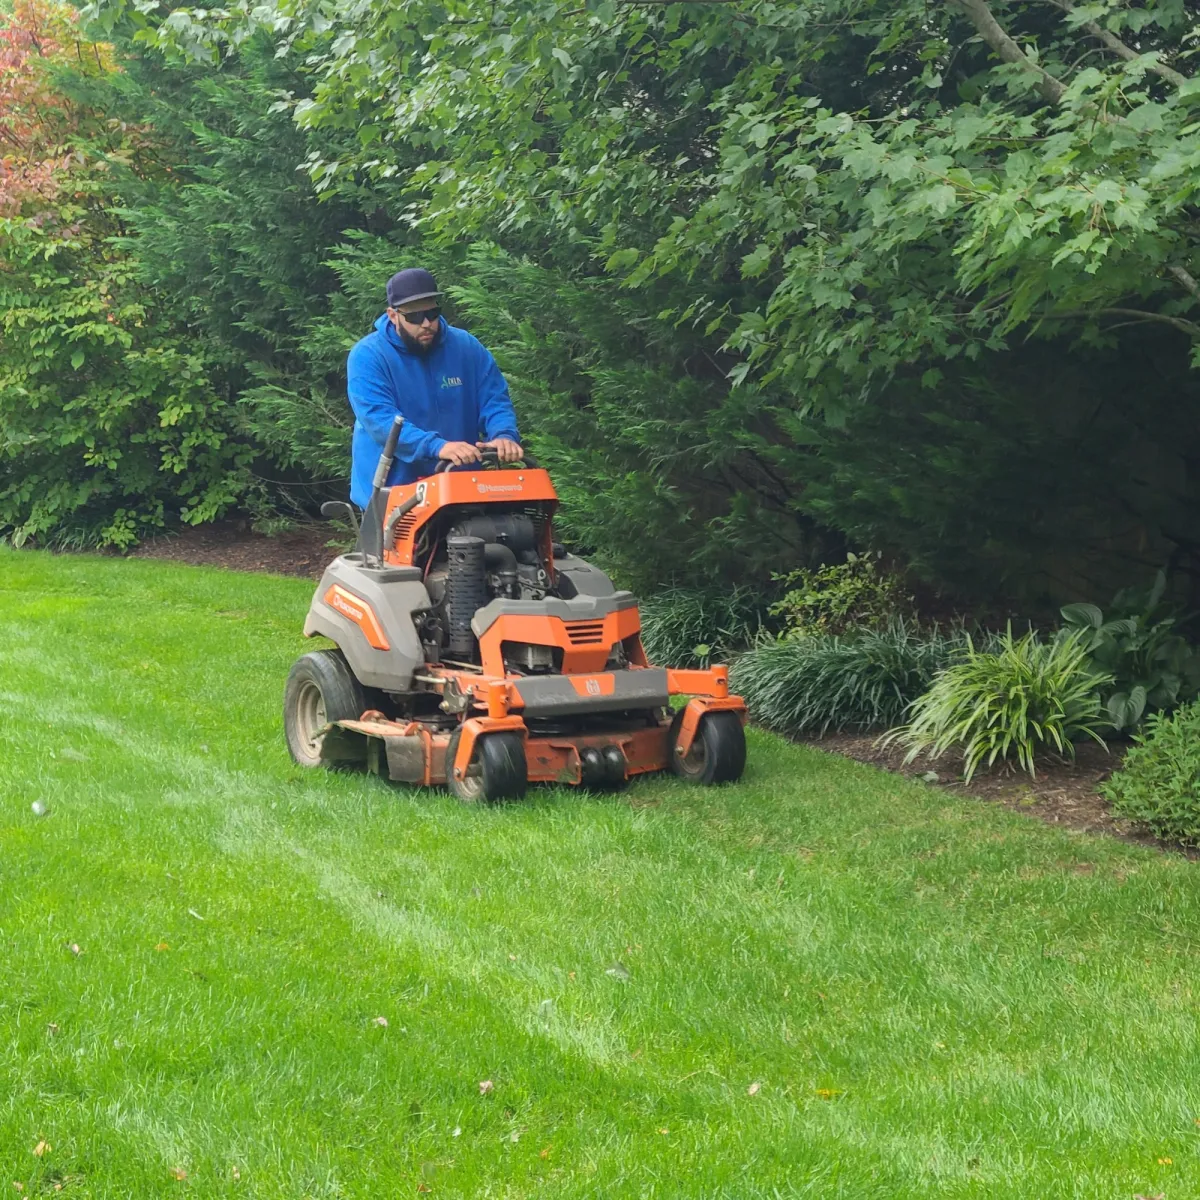
Lawn Maintenance
Lawn Mowing
Consistent, professional mowing with trimming and edging to maintain a clean, healthy, and uniform lawn appearance.
Lawn Applications
Customized fertilization and treatment programs designed to improve turf health, color, and resilience throughout the growing season.
Lawn Renovations
Targeted lawn improvements including overseeding, aeration, and restoration to repair damaged turf and strengthen overall lawn performance.
Installations
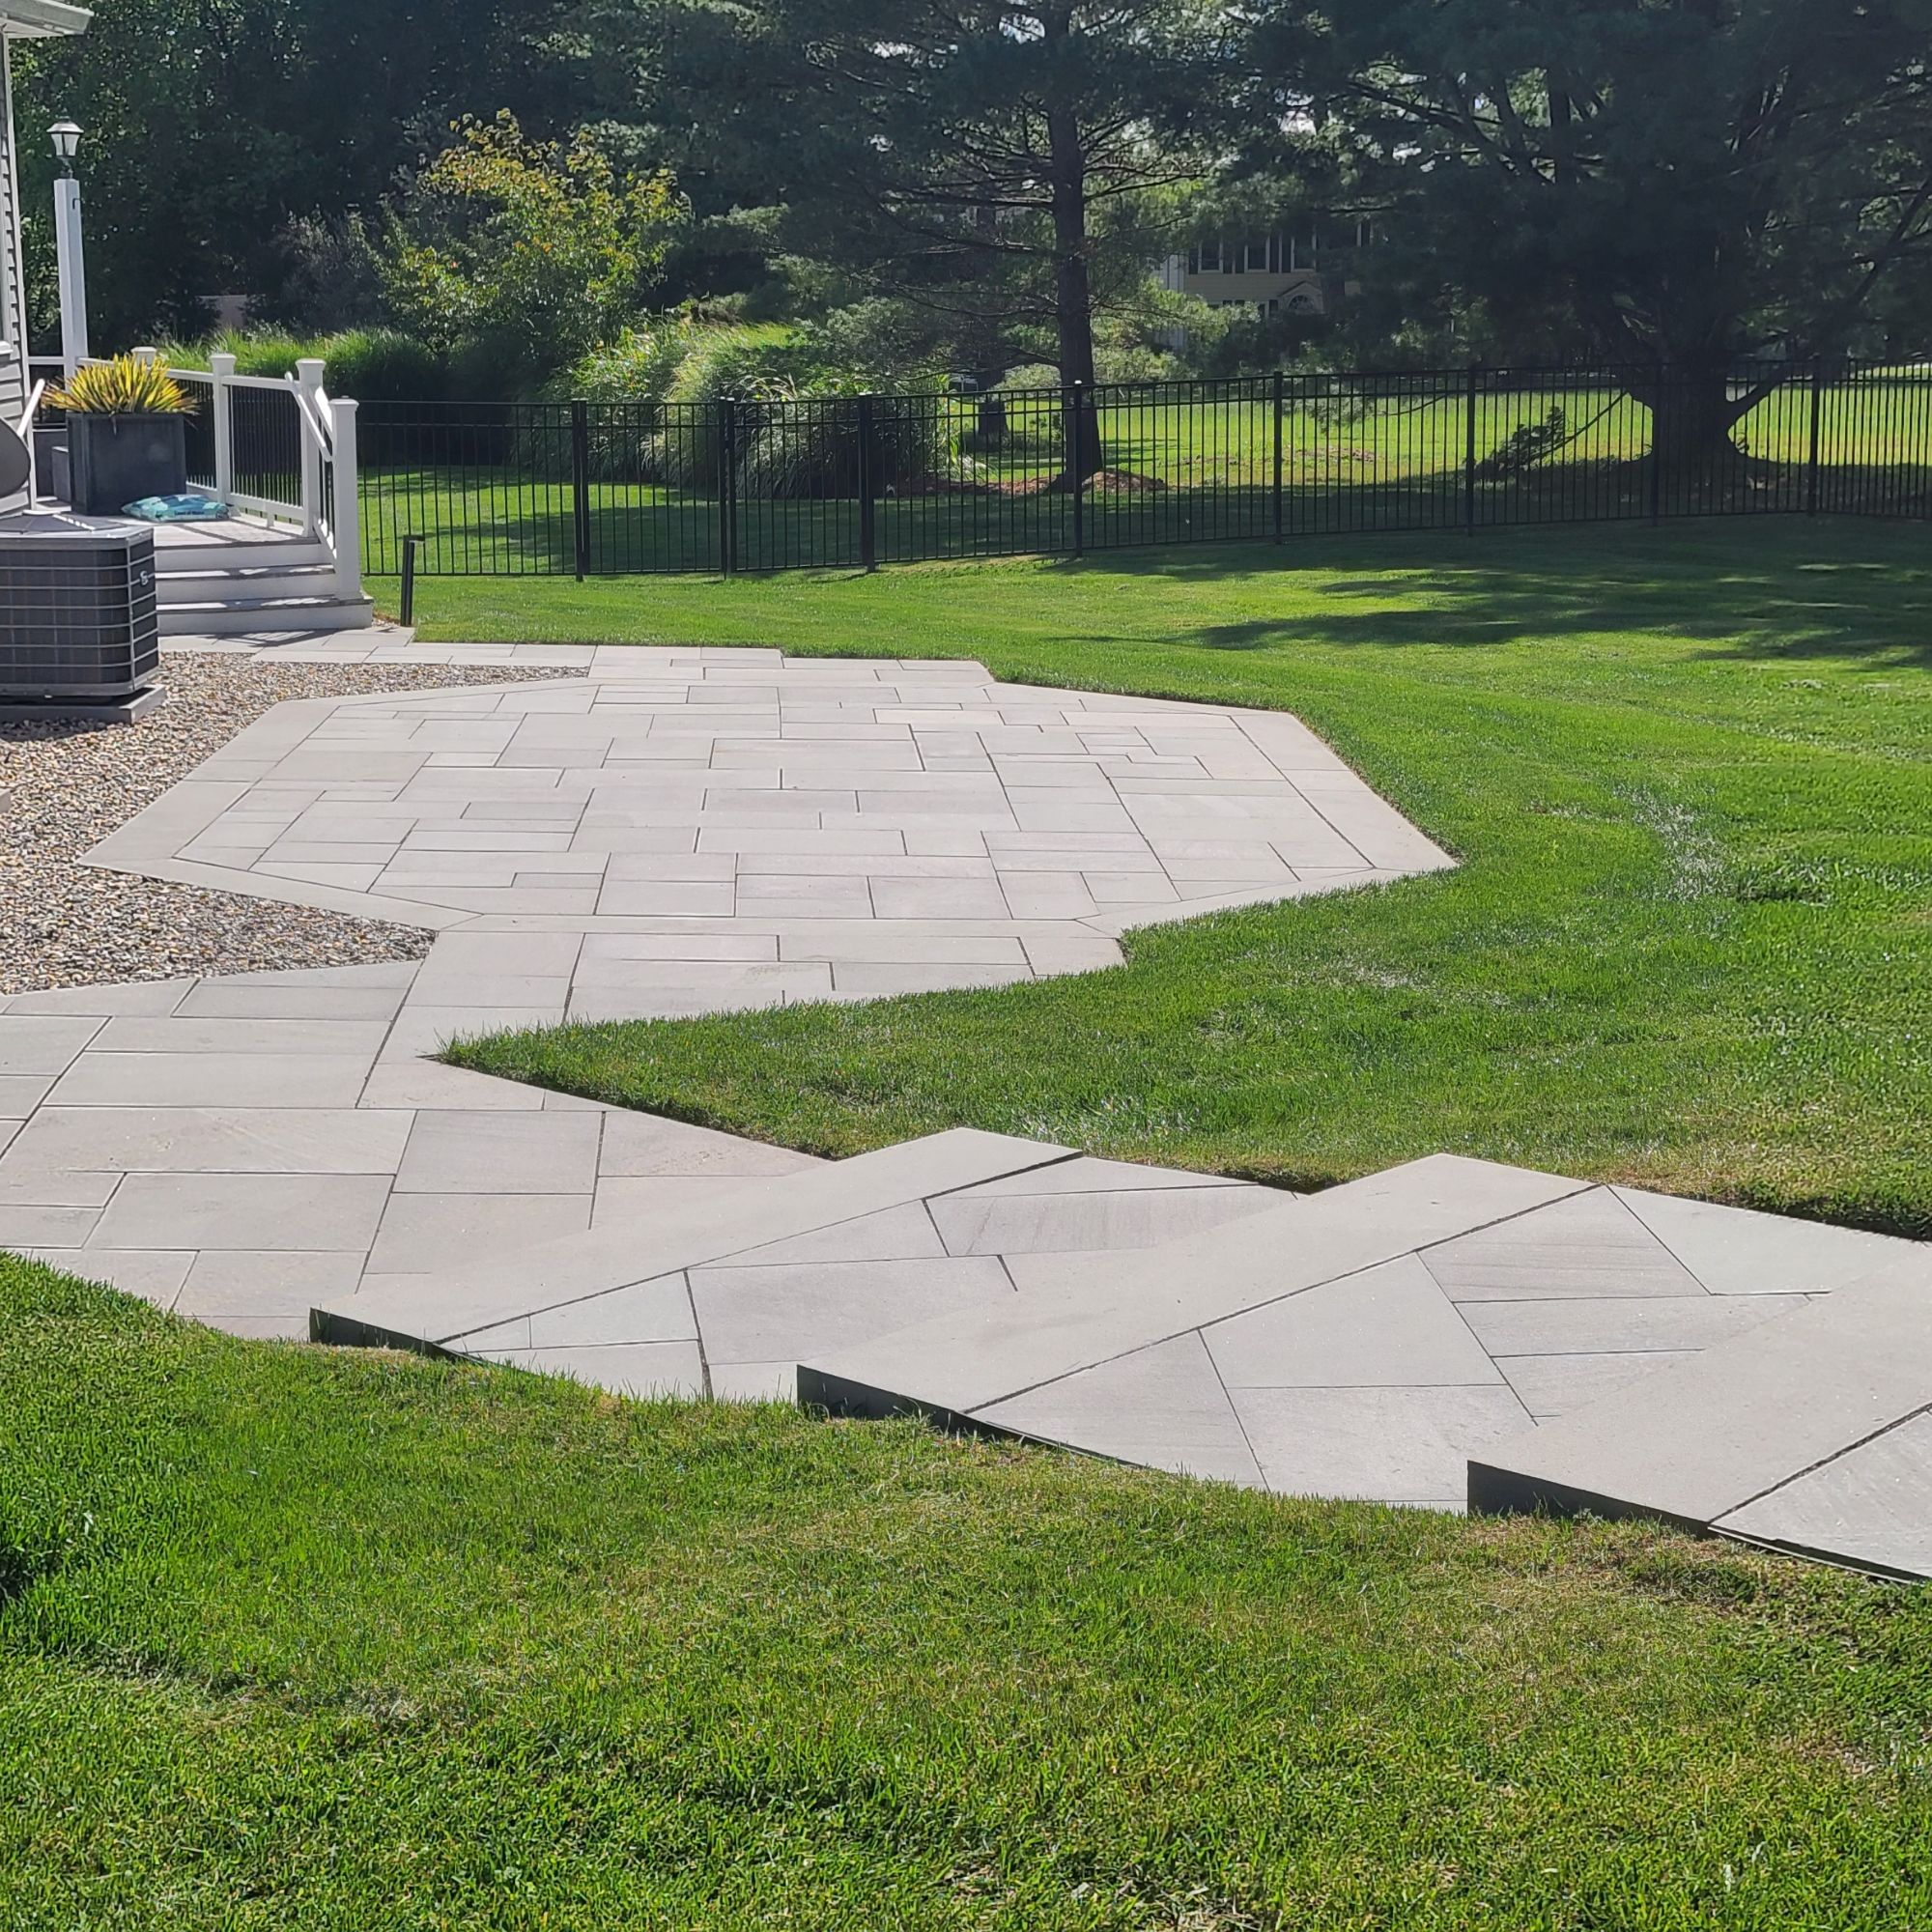
Hardscapes
Expert installation of patios, walkways, retaining walls, and outdoor features built for durability, function, and long-term beauty.
Plantings
Professional installation of trees, shrubs, and gardens selected to complement your property and thrive in local conditions.
Drainage
Effective drainage solutions designed to manage water flow, prevent erosion, and protect your landscape and home.
Low Voltage Lights
Thoughtfully placed landscape lighting that enhances safety, highlights architectural features, and extends outdoor enjoyment after dark.
Putting Greens
Custom-designed and professionally installed putting greens that deliver performance, durability, and year-round enjoyment at home.
Seasonal Cleanups
Ornamental Care
Professional pruning, deadheading, and bed maintenance to keep shrubs, perennials, and ornamental plantings healthy, balanced, and visually refined throughout the season.
Care of Landscape Plants
Ongoing monitoring and maintenance of trees, shrubs, and plantings, including disease and pest observation, seasonal adjustments, and spot care to promote long-term plant health.
Snow Removal
Reliable snow and ice management services to maintain safe access to driveways, walkways, and entrances during winter weather events.
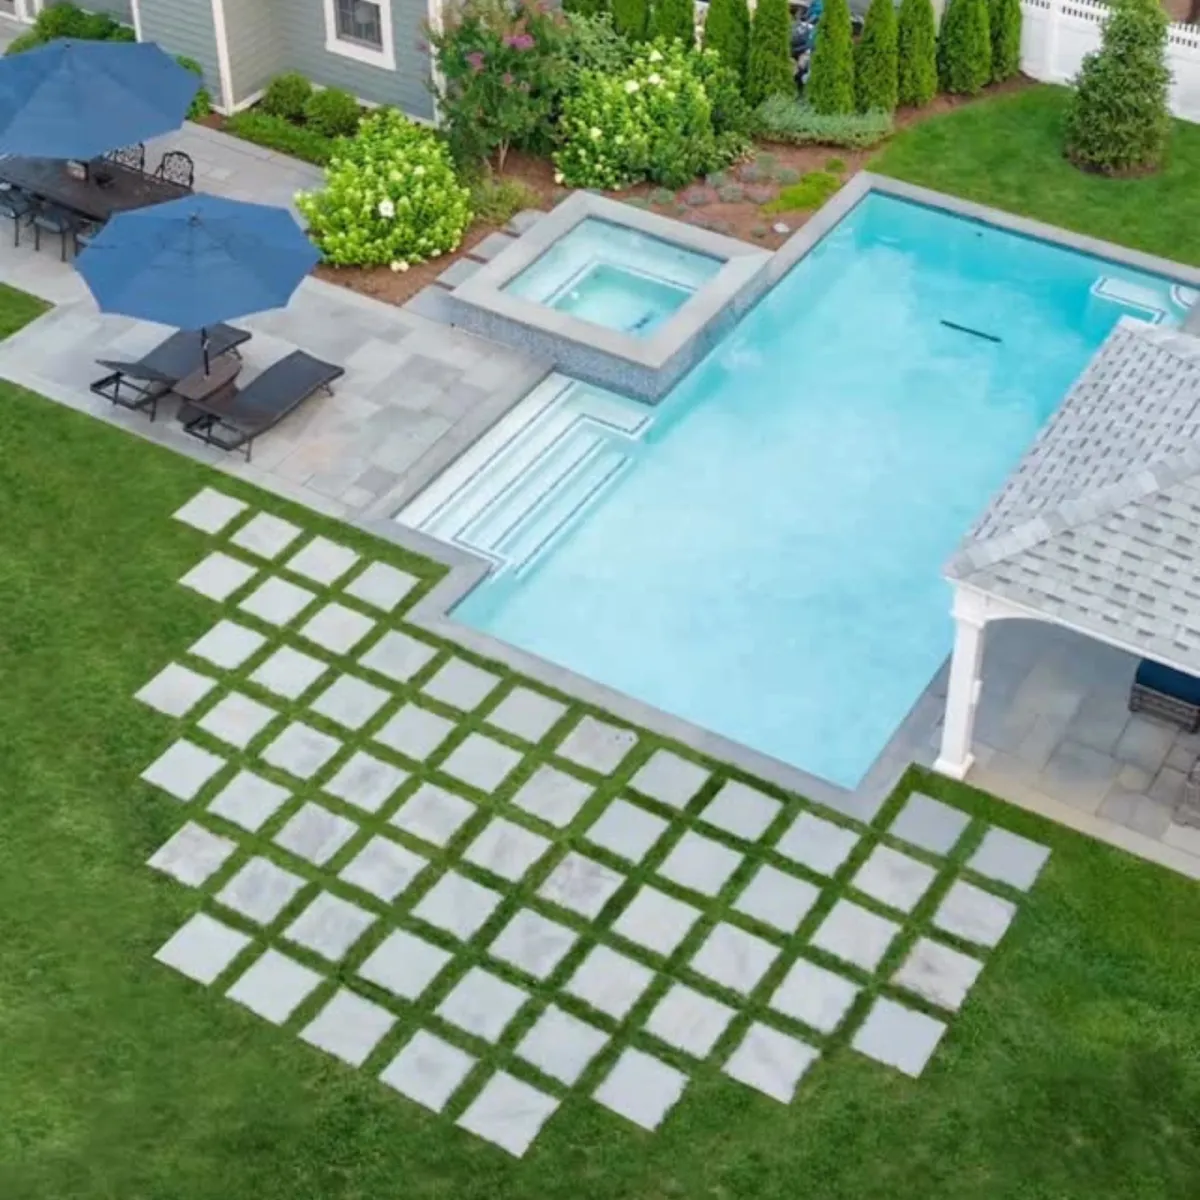
Pool Designs & Renovations
Pool decks and area renovations
Bluestone, paver, travertine, and natural stone pool decks. Replace dated concrete or weathered pavers with modern surrounds.
Pool plantings
Salt-tolerant, splash-tolerant plant palettes that thrive poolside.
Pool lighting & ambiance
Low-voltage architectural and accent lighting around the pool.
Pergolas, cabanas & shade
Built shade structures for sun protection and visual anchor.
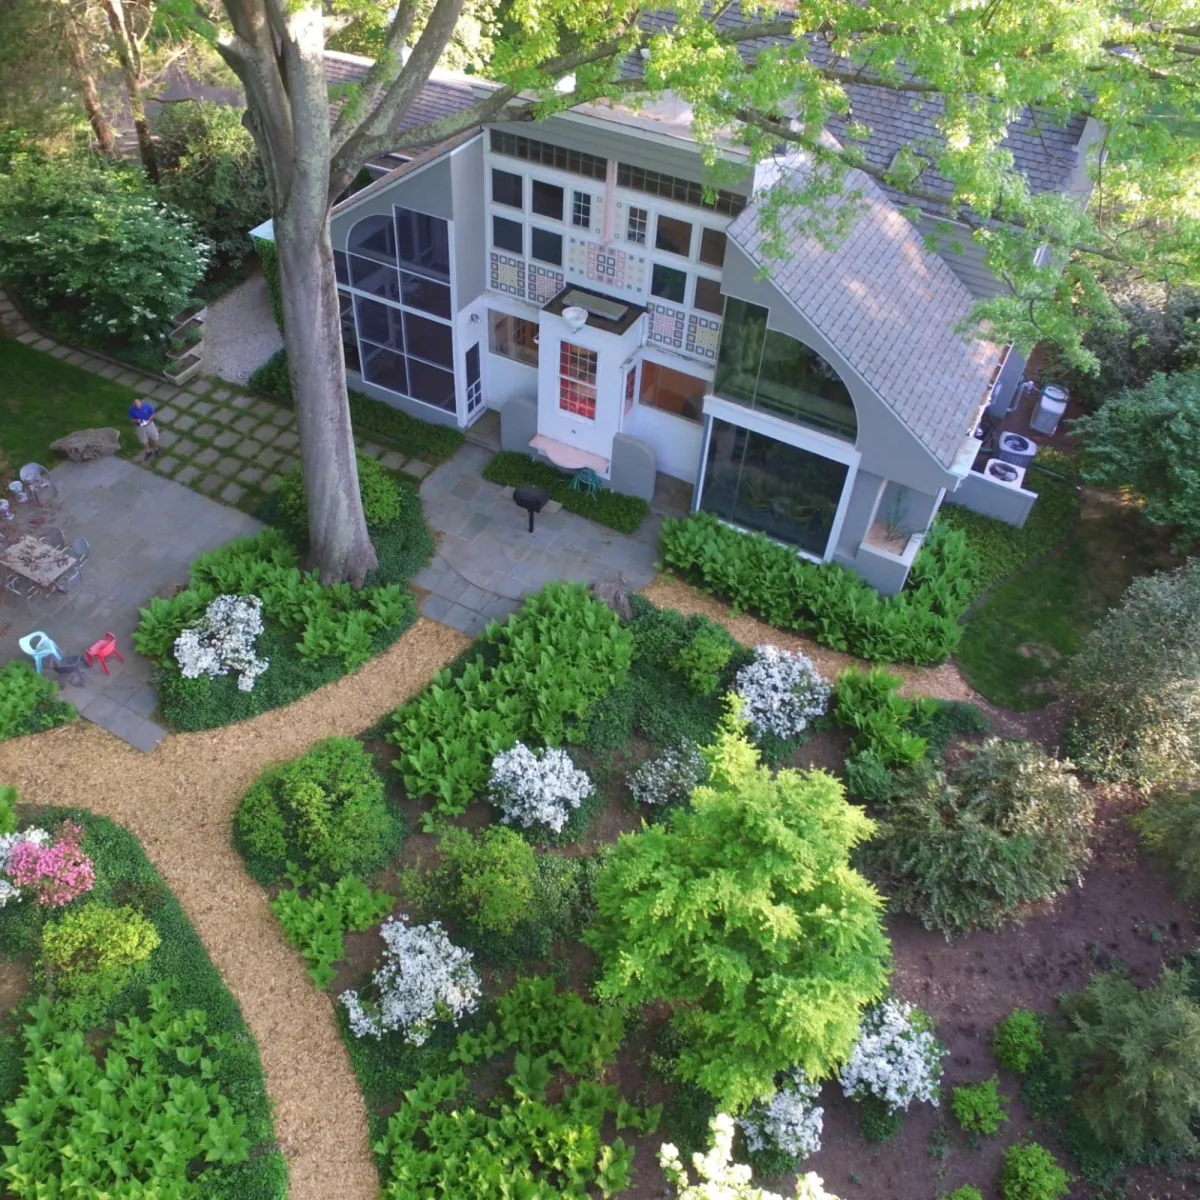
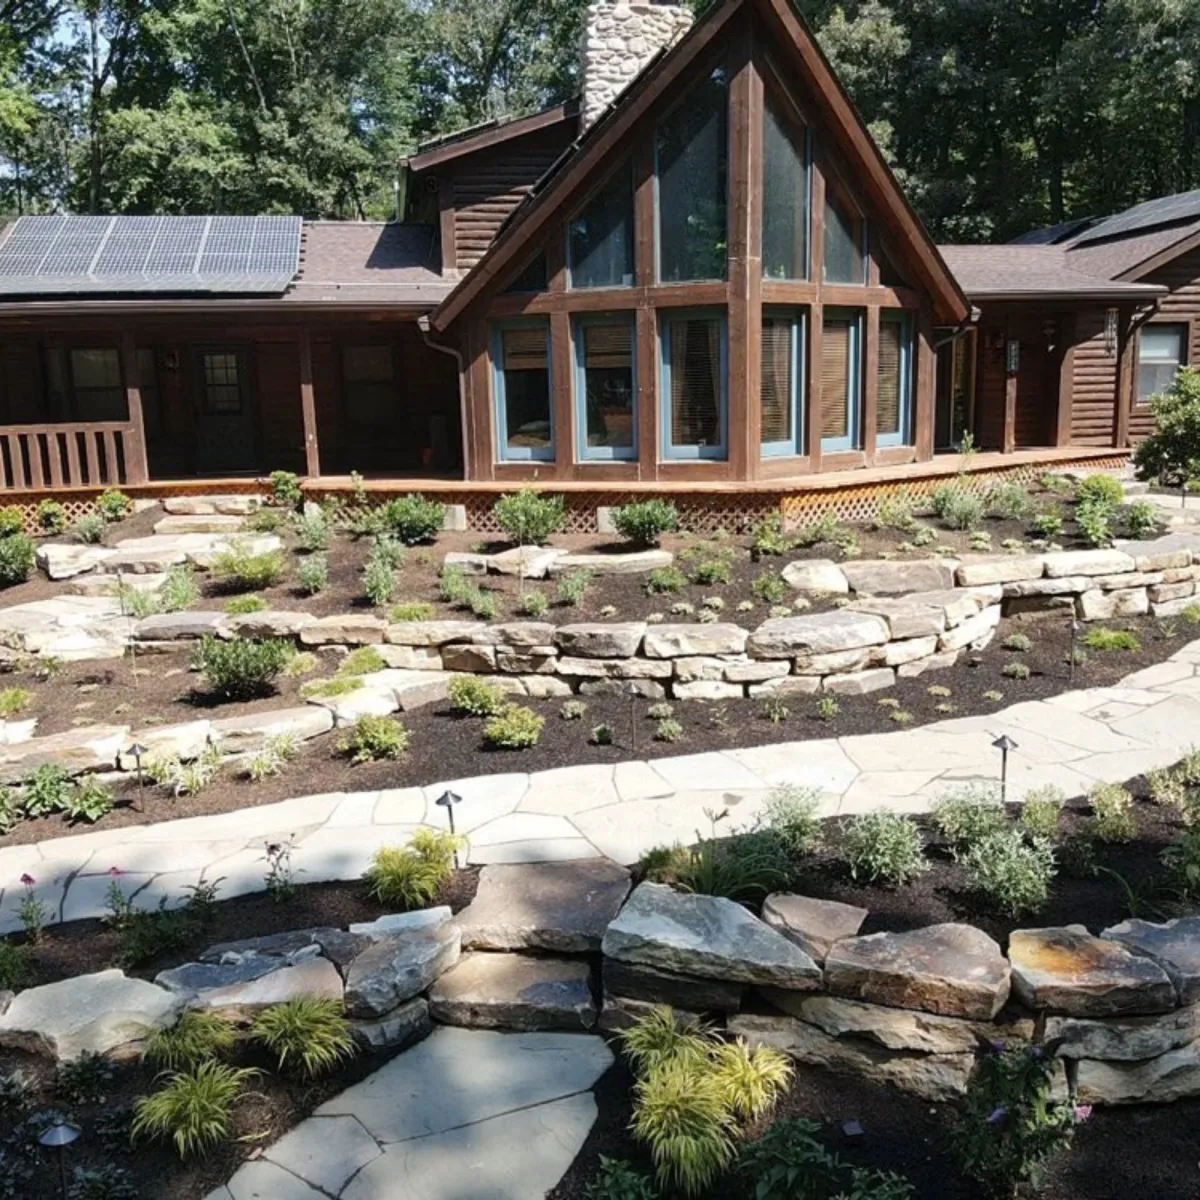
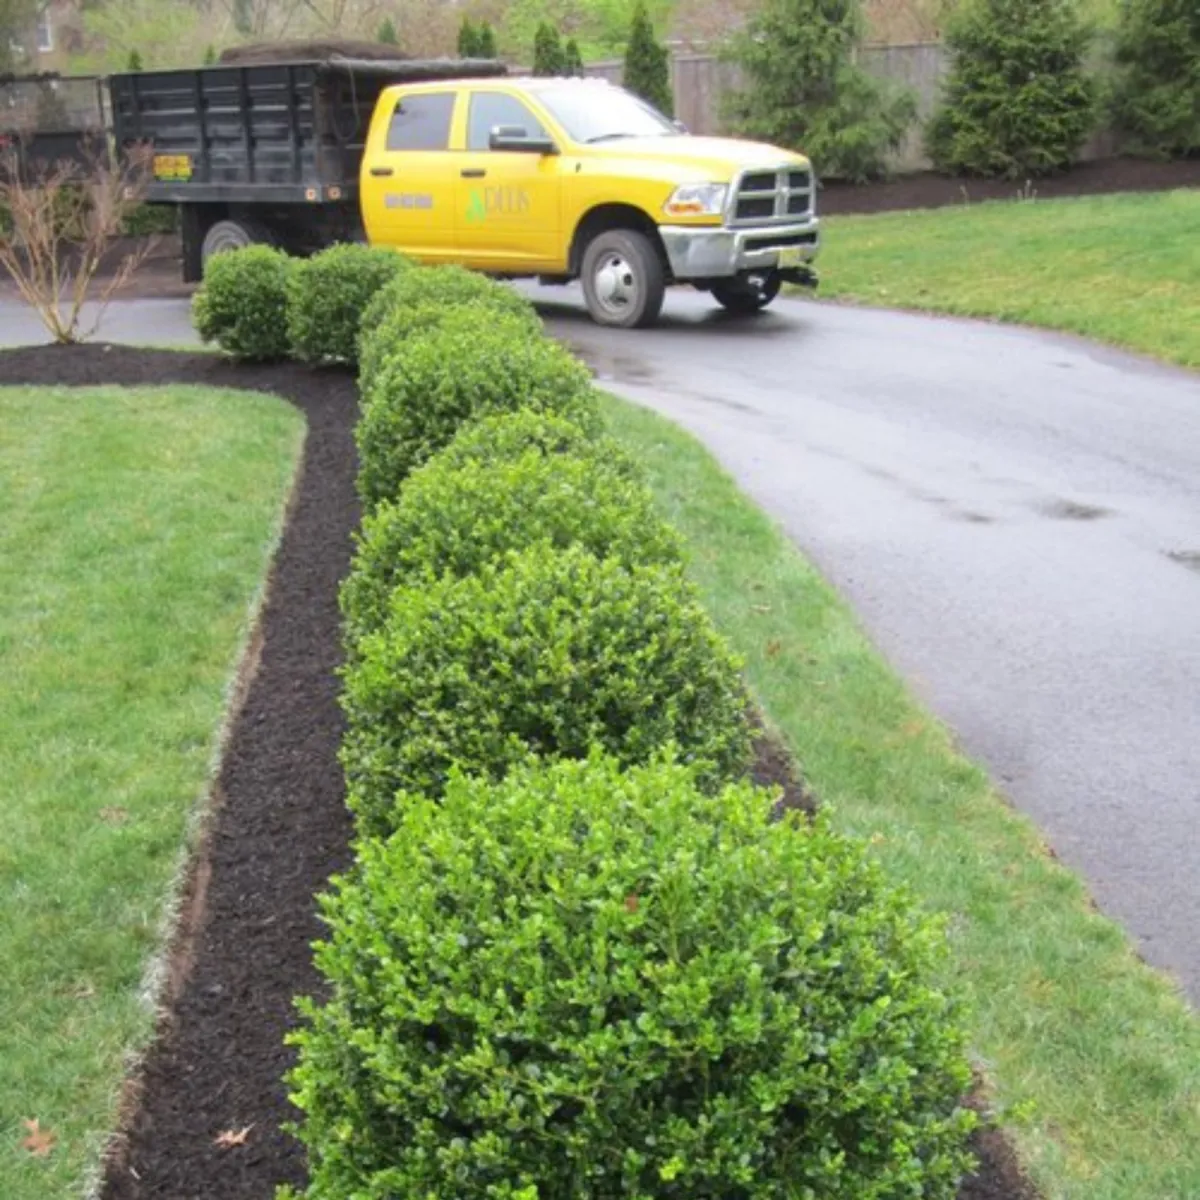
A look at what we've been building across Central New Jersey, Bucks County Pennsylvania and the surrounding area.
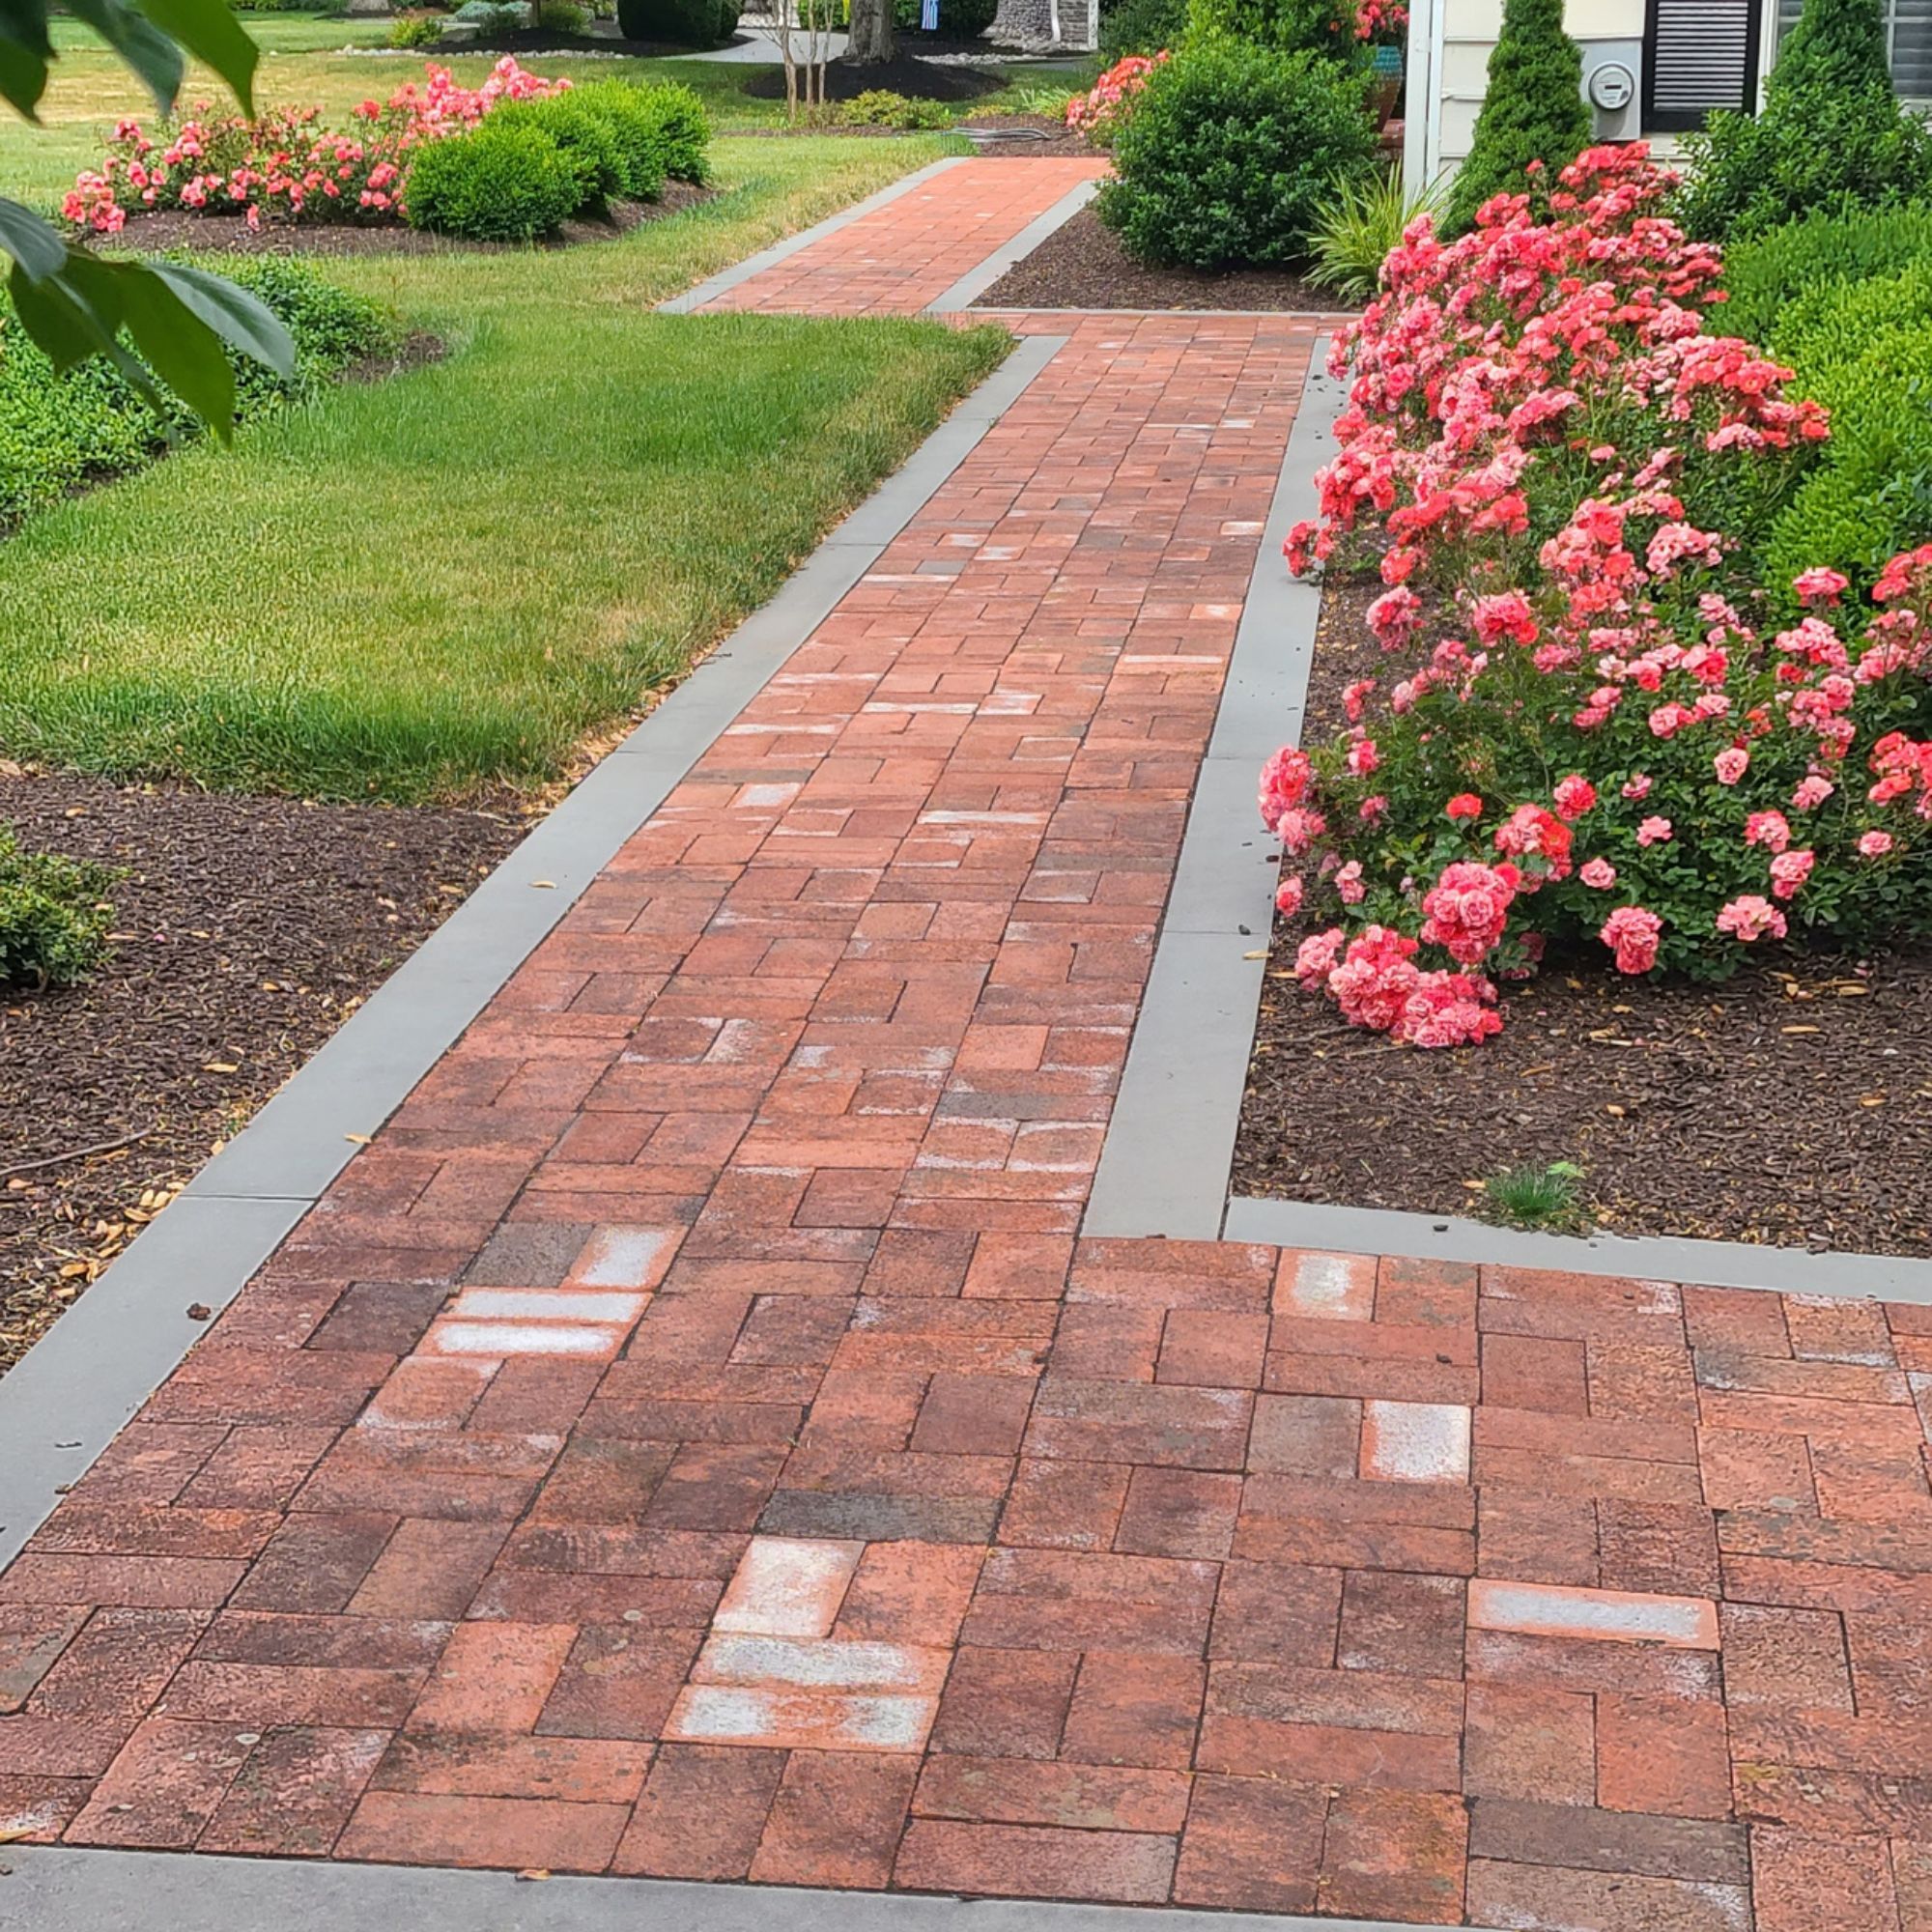
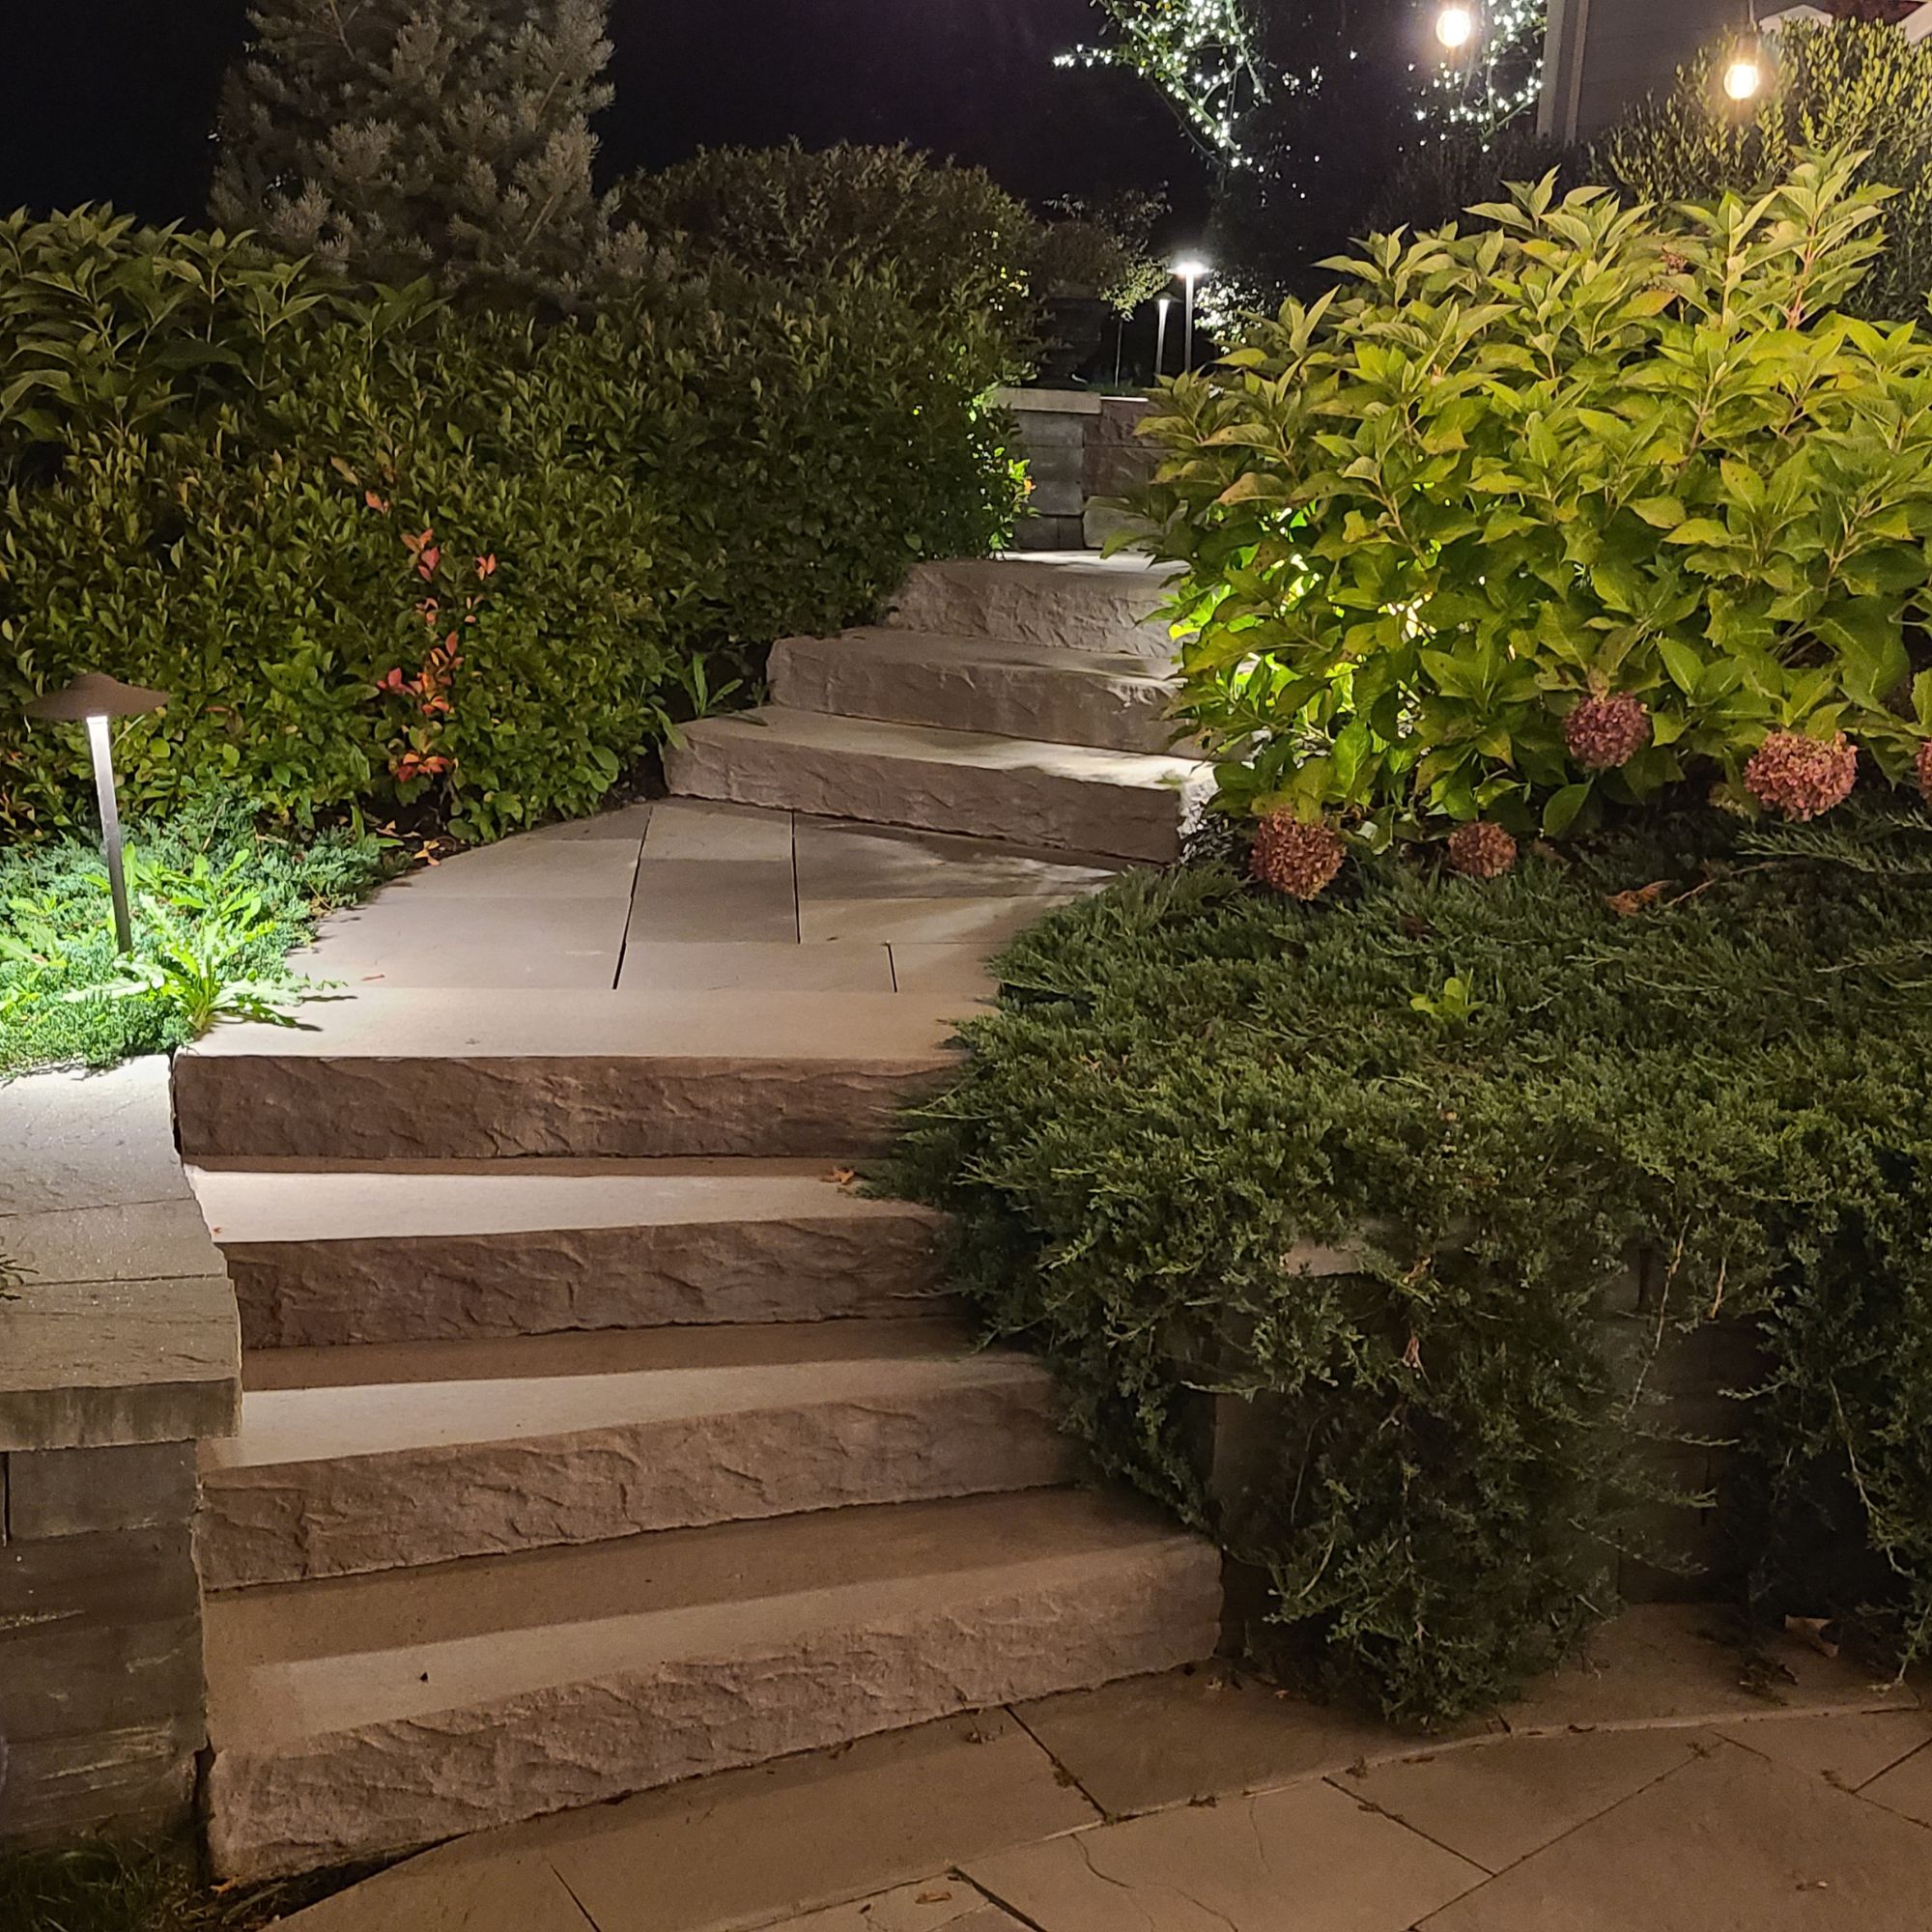
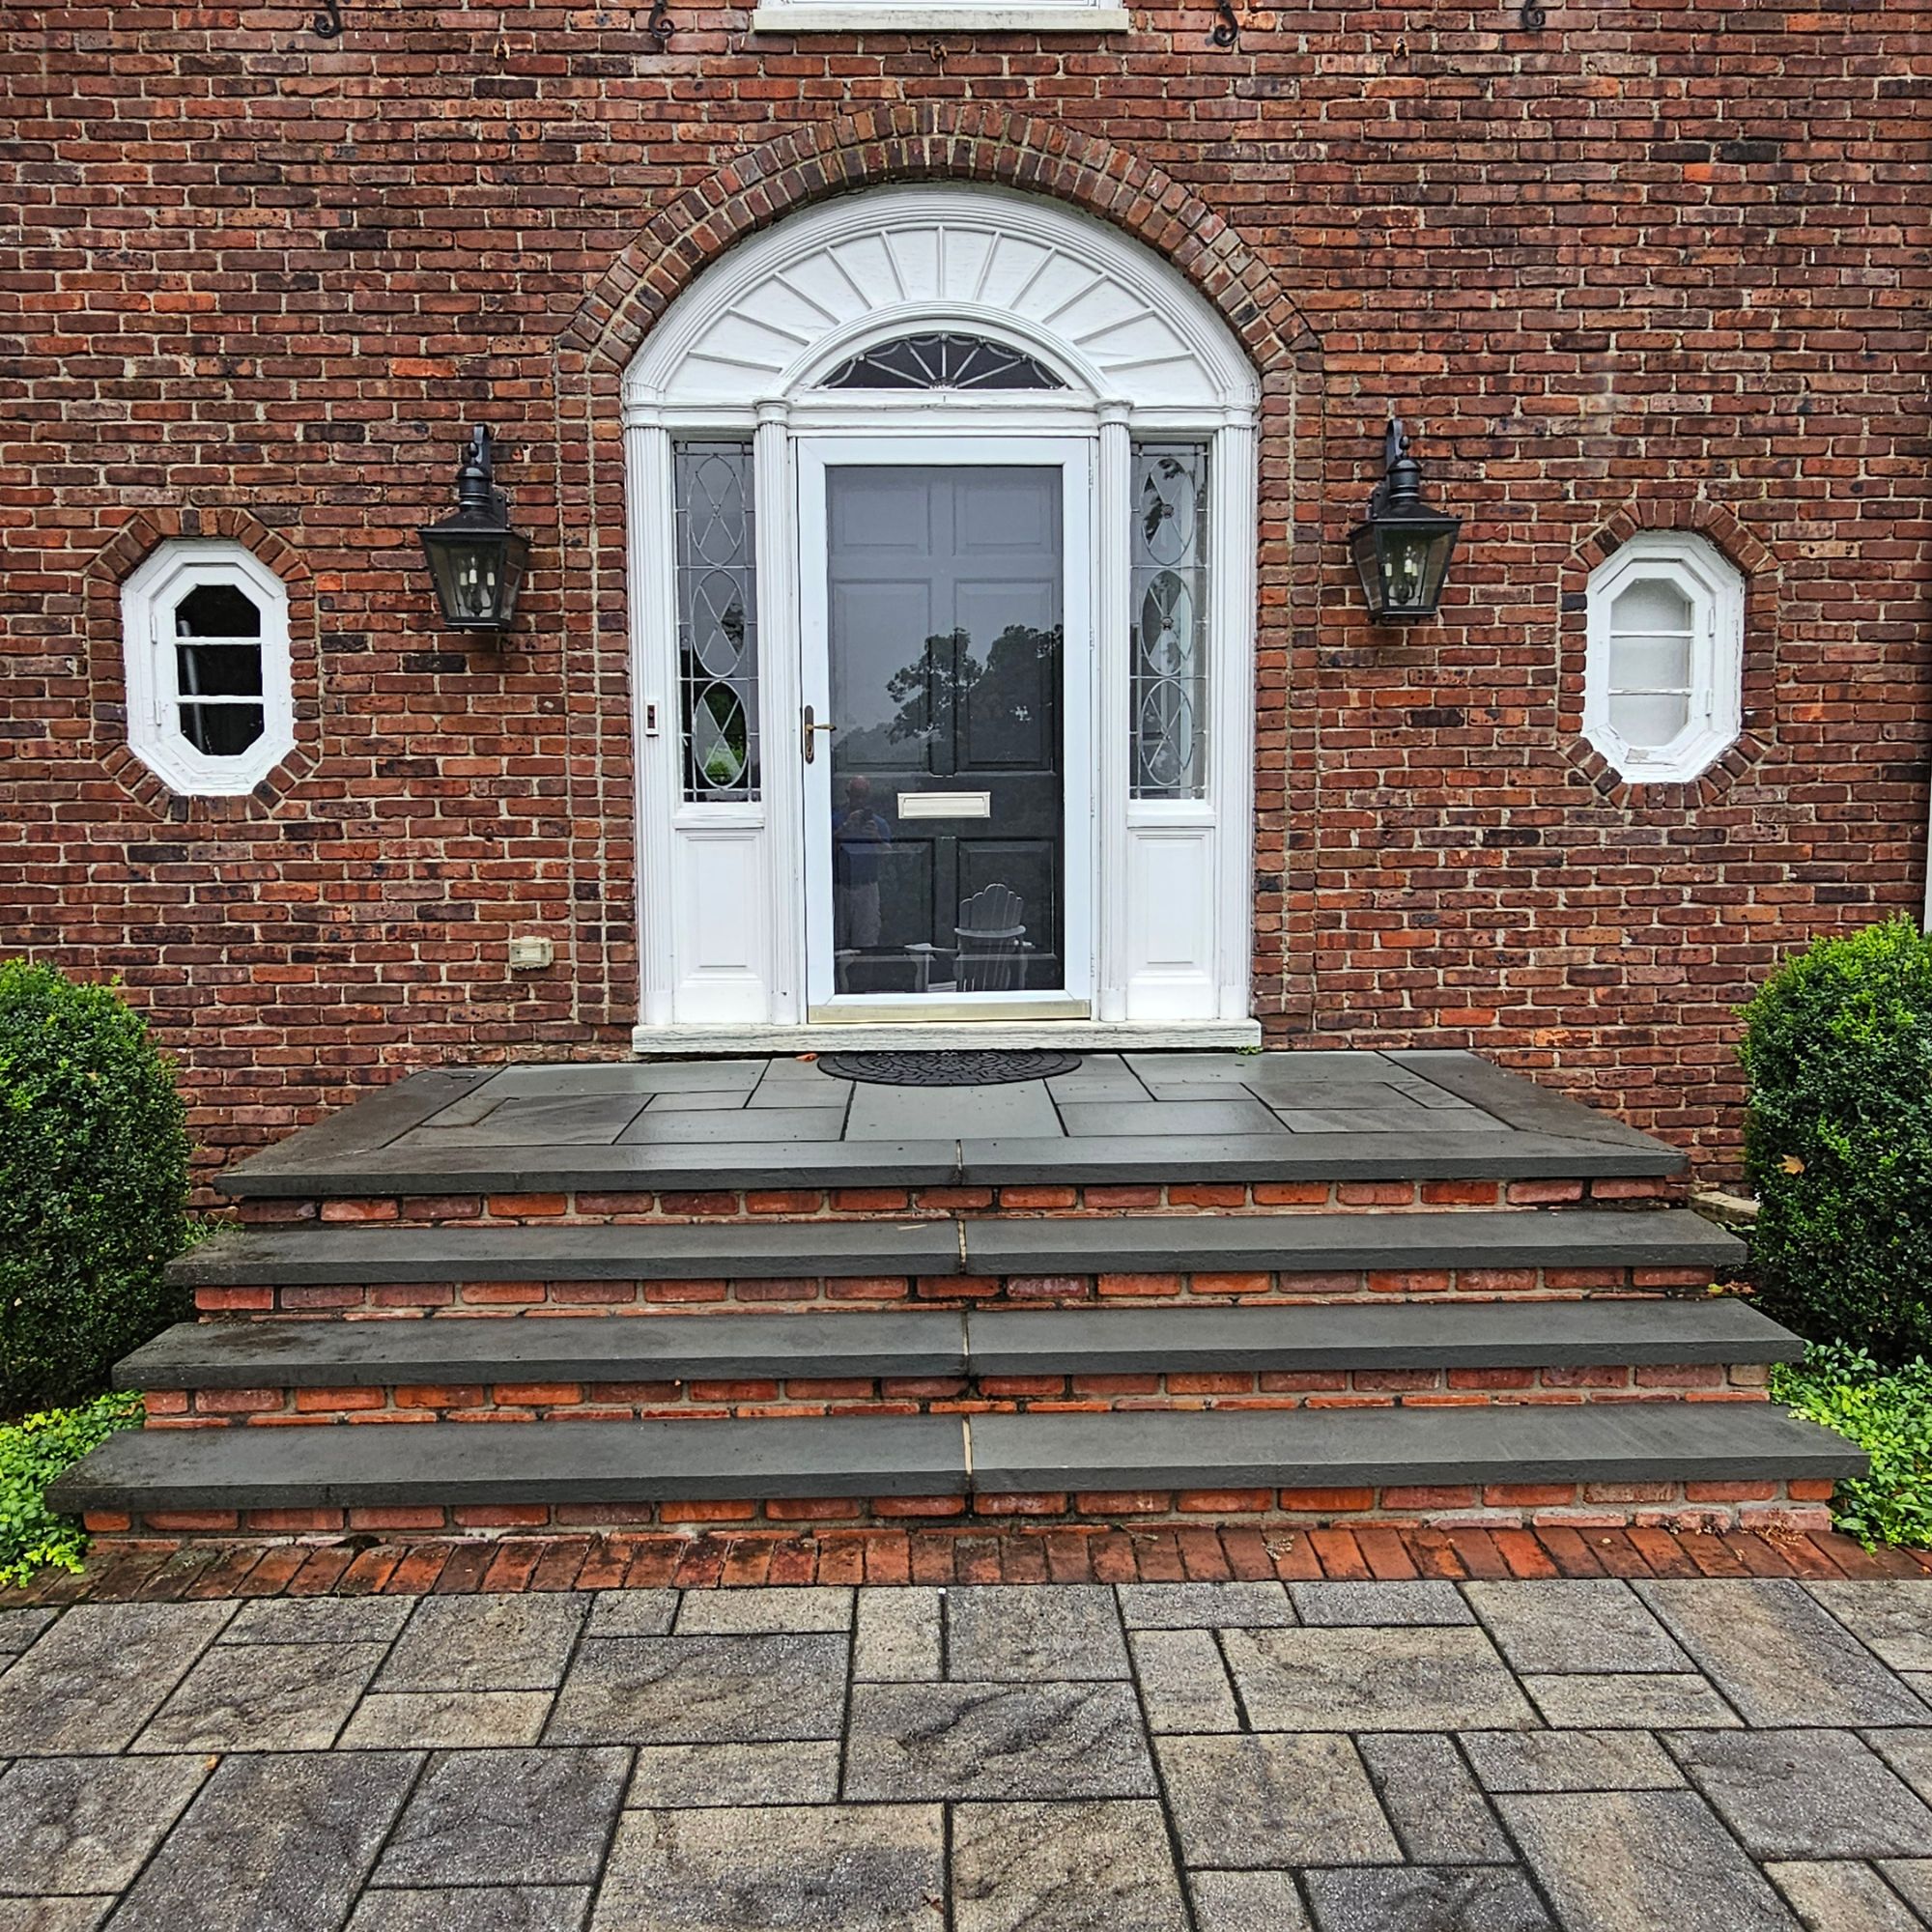
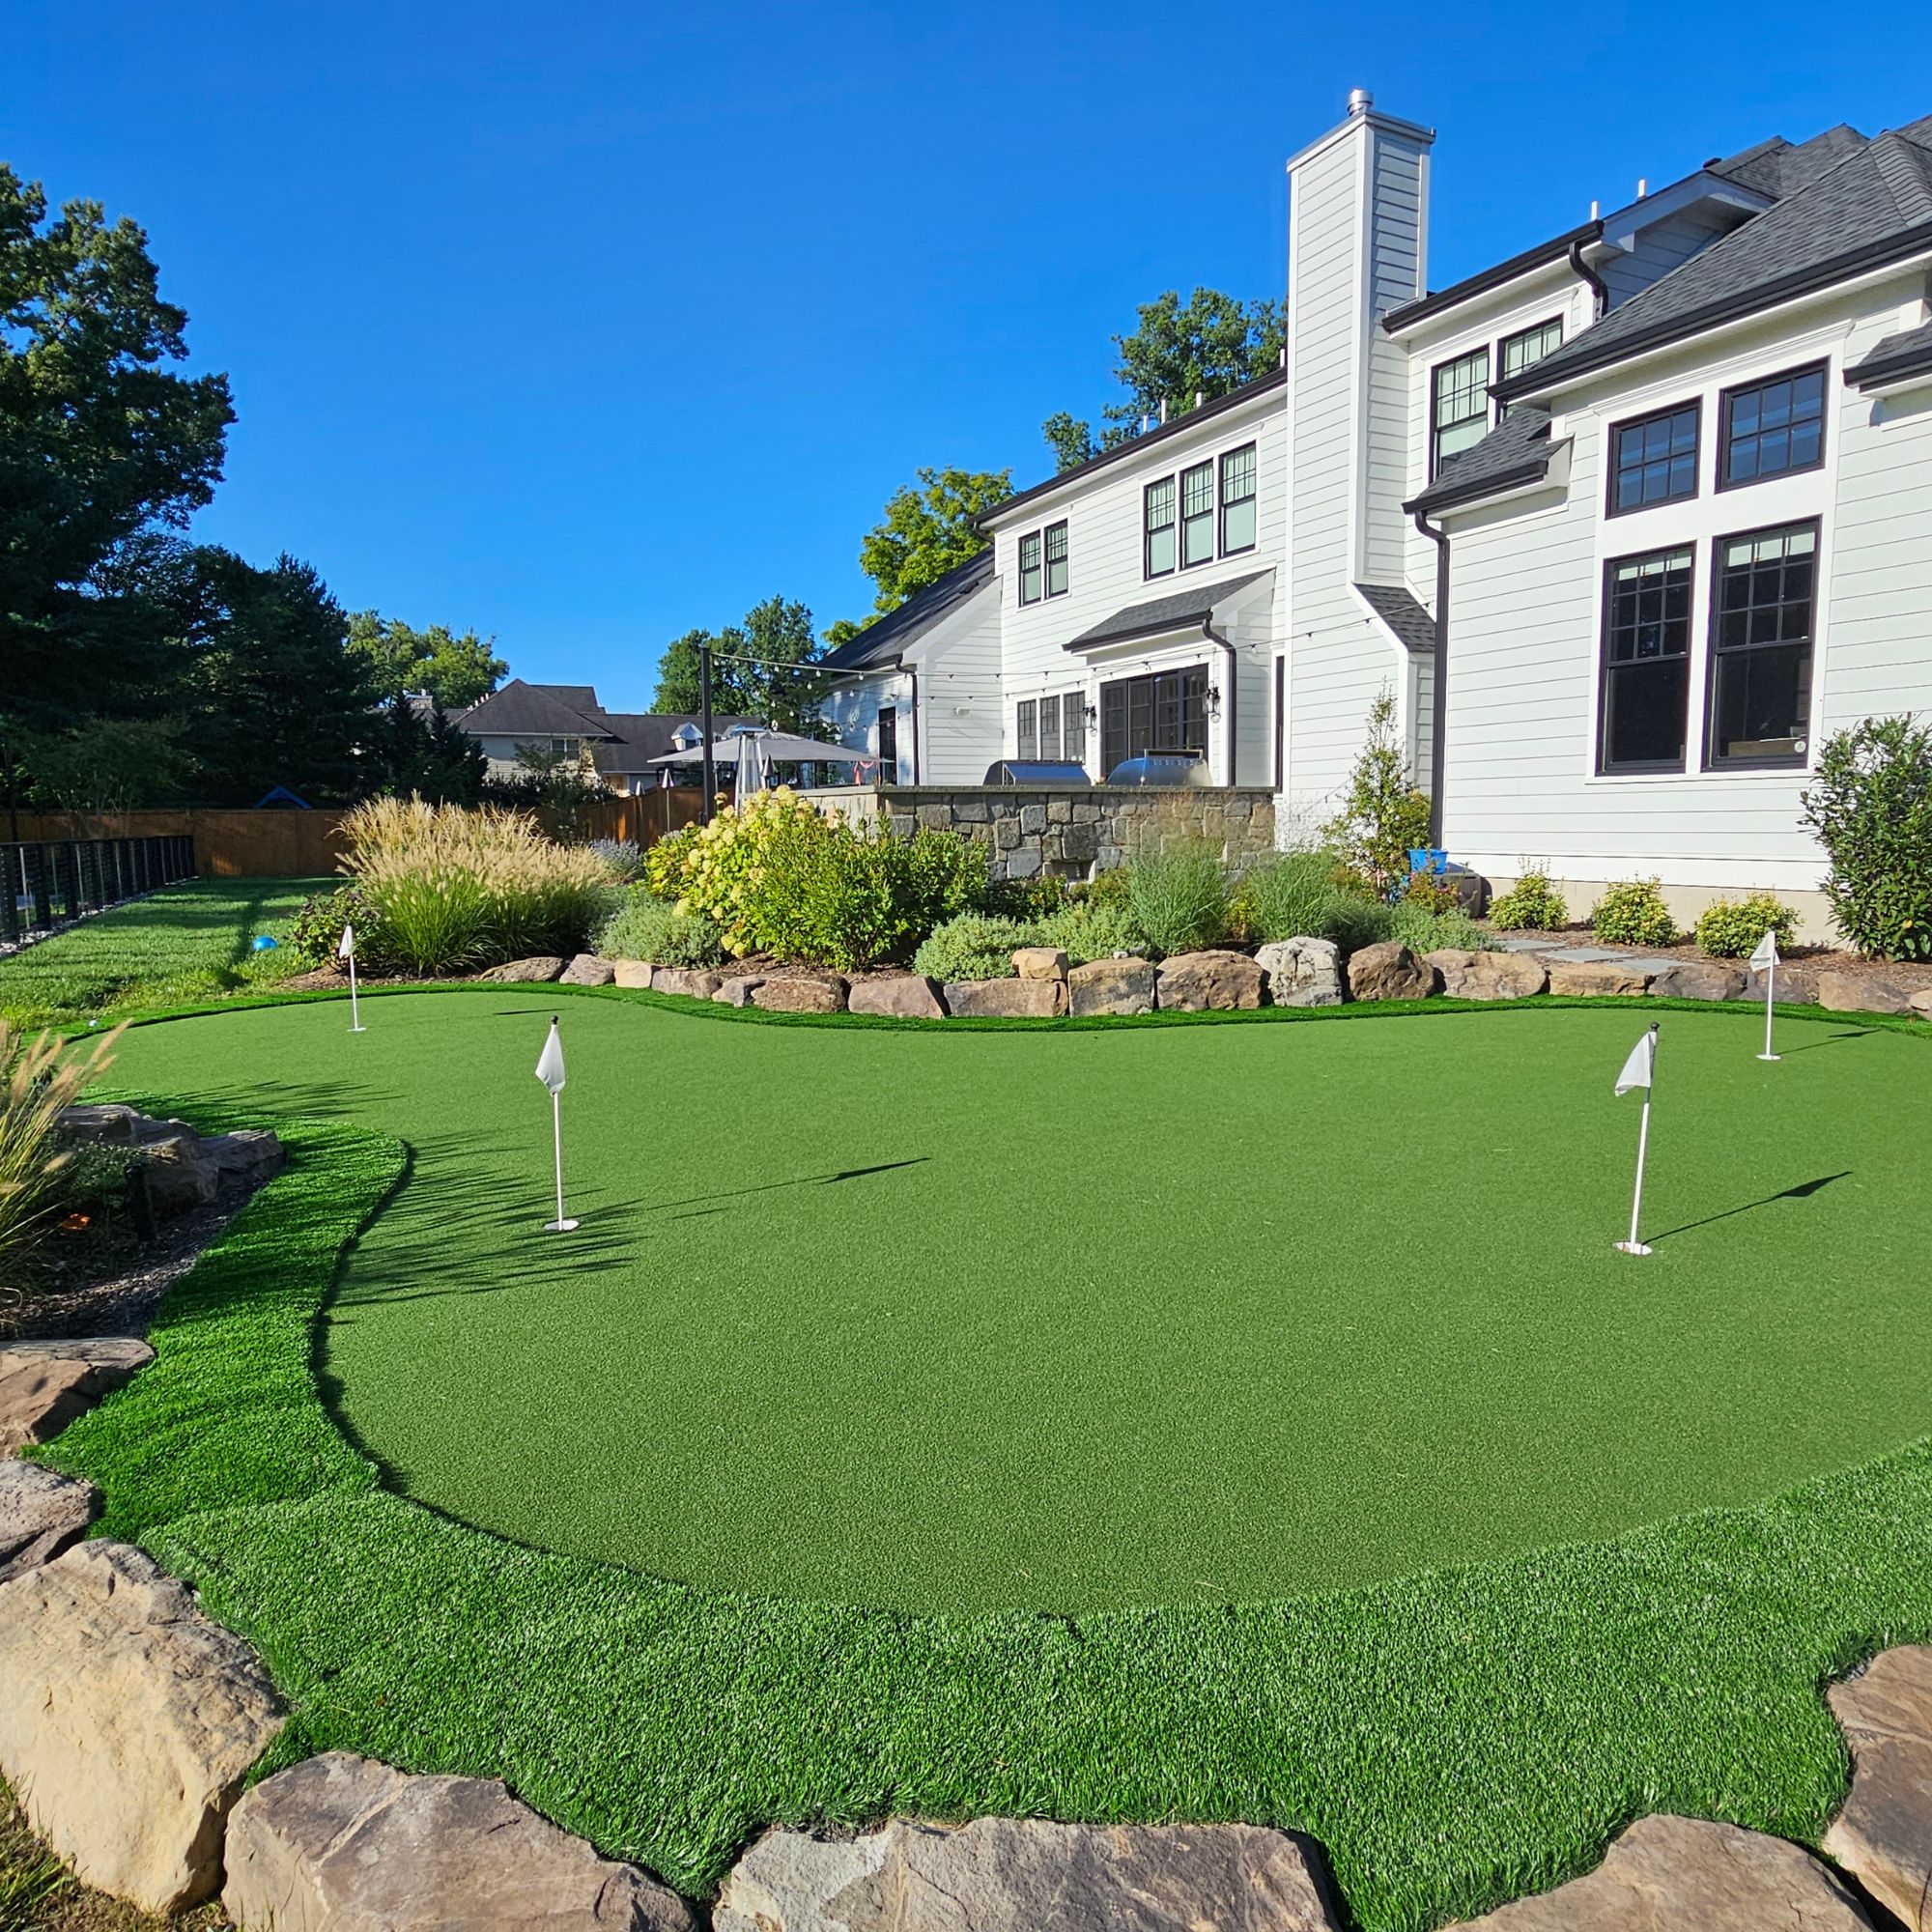
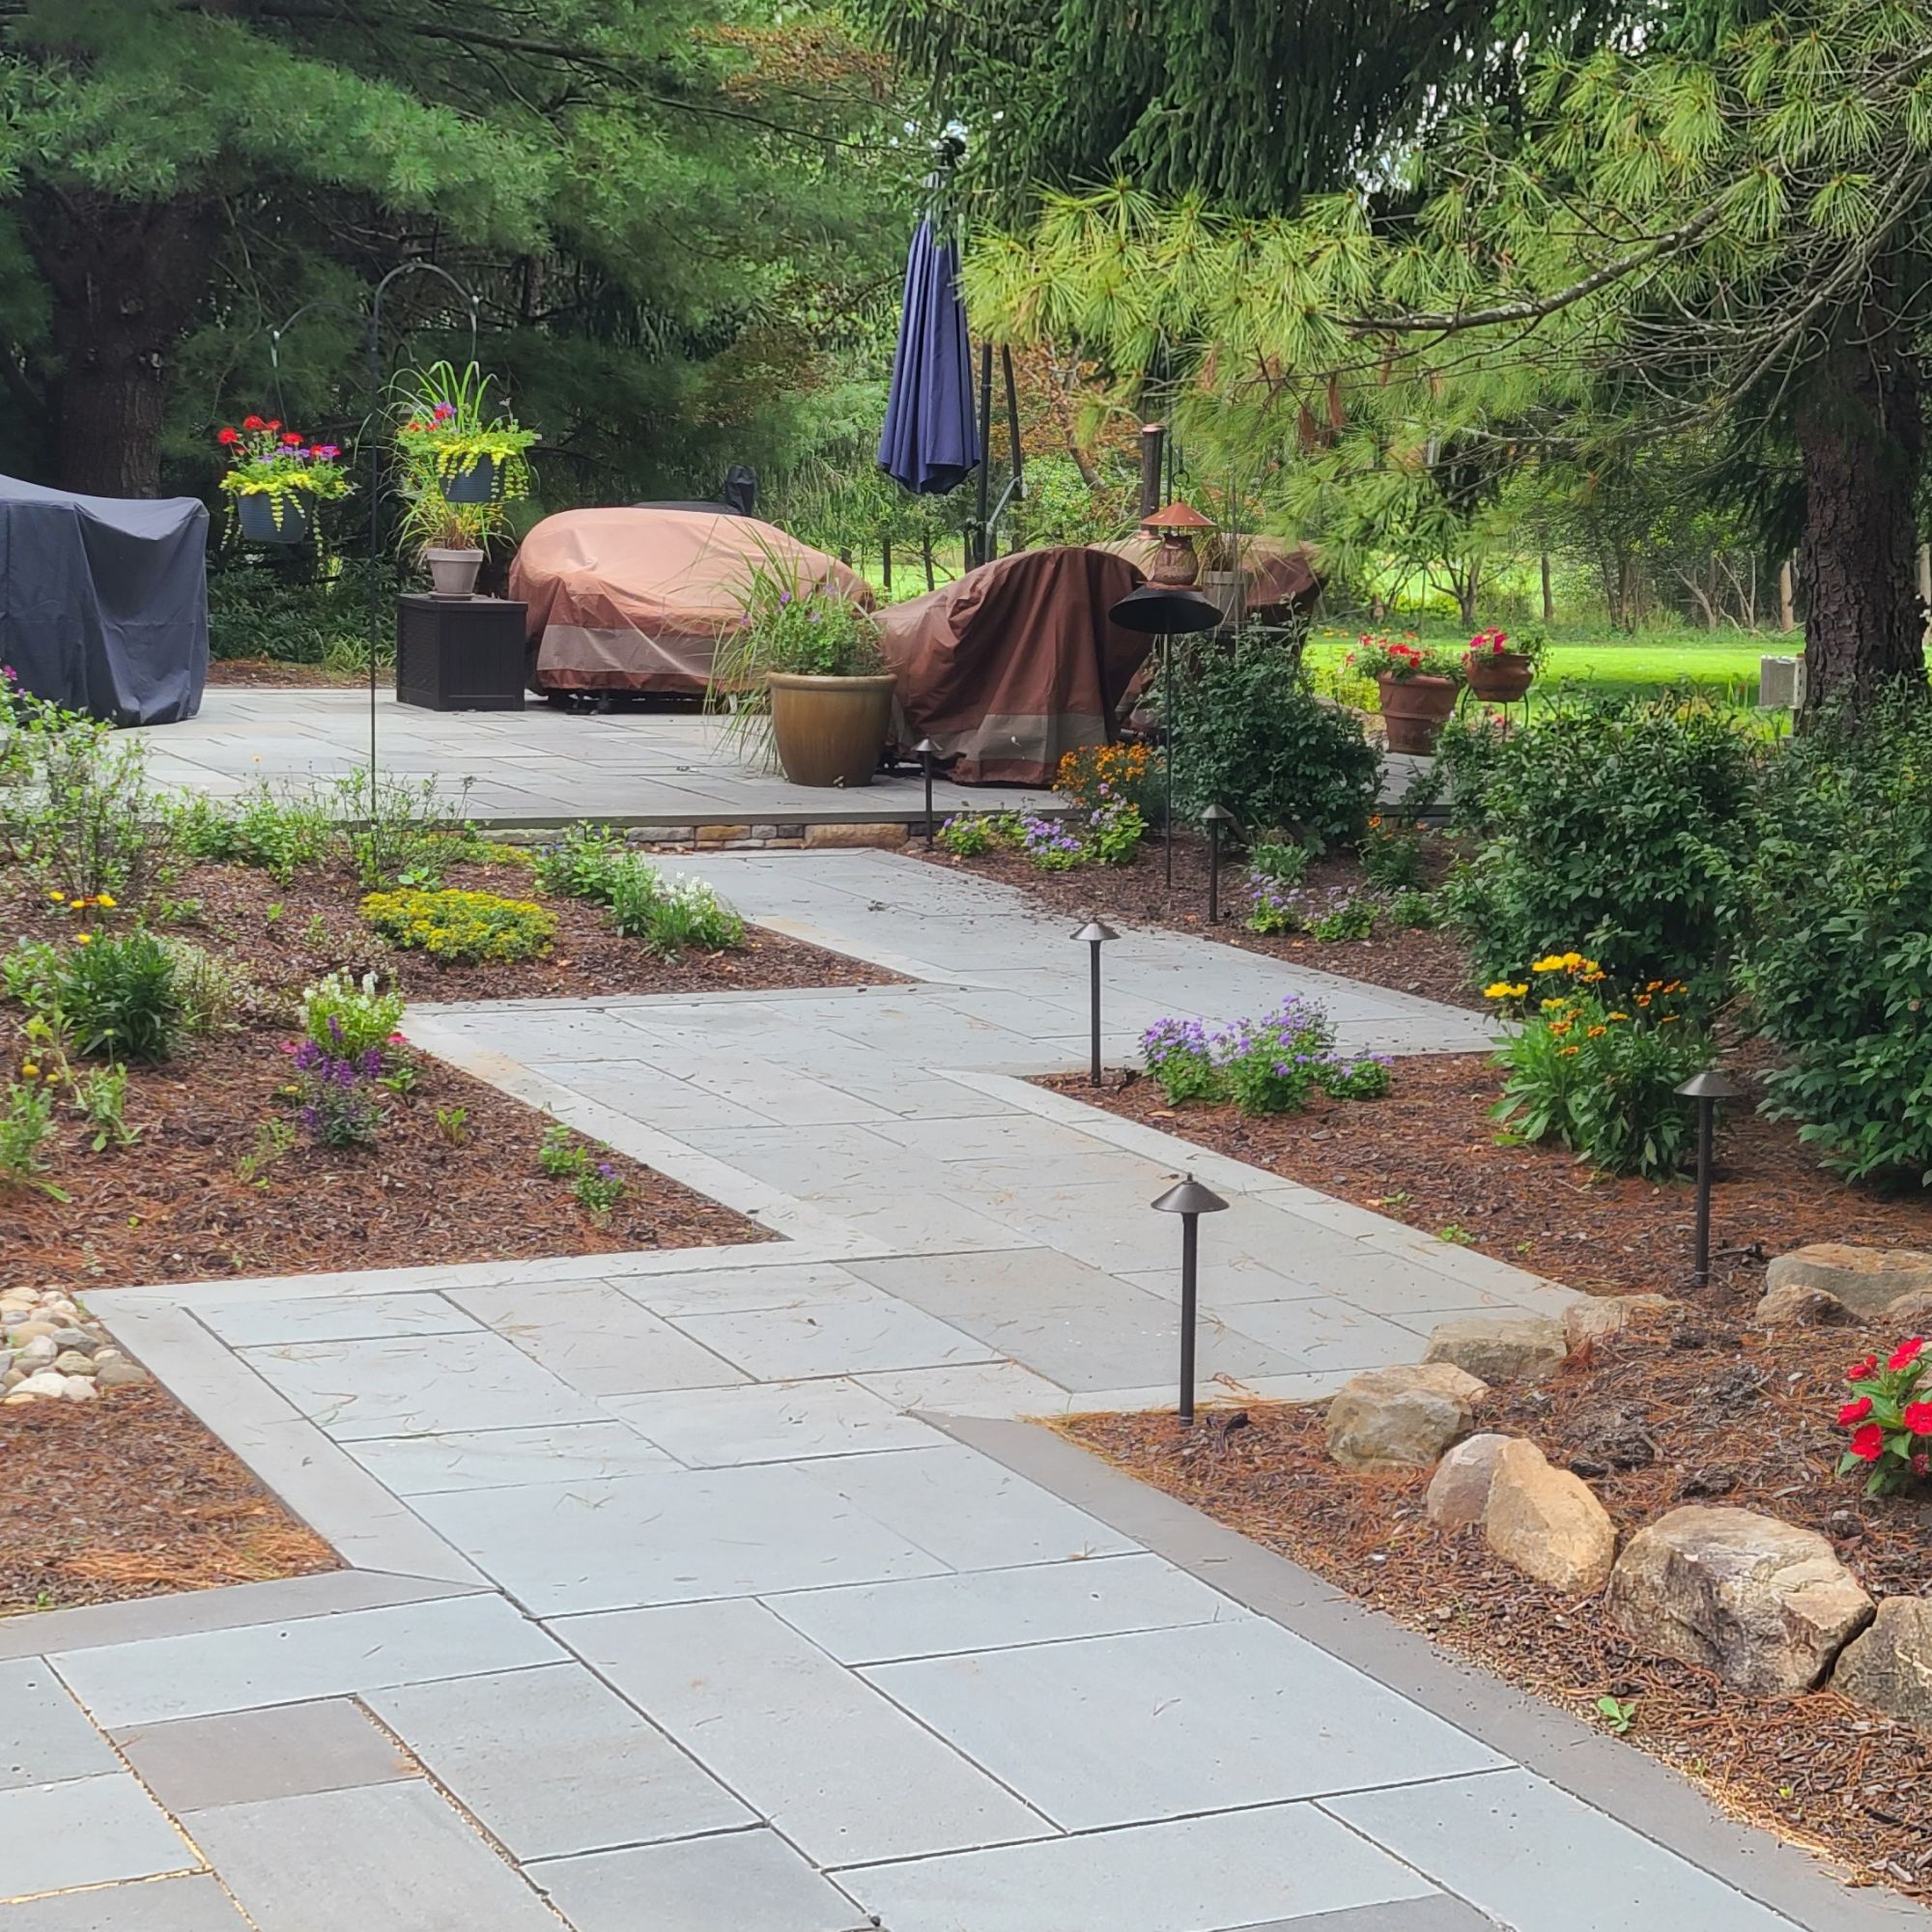
Designed. Built. Maintained.
How It Works
From first call to finished install, here's the process. No surprises.

Free Consultation
Call us or fill out the quote form. We'll set up a free on-site visit, walk your property, and talk through what you're trying to accomplish. No pressure, no pricing yet, just listening.

Design & Proposal
For projects over $20K, we develop a 2D or 3D design so you can see the finished space before we break ground. You get a detailed proposal with materials, scope, timeline, and price, itemized.

Build & Warranty
We schedule the build, manage permits, and stay in touch through every phase. Hardscape installs come with a 5-year warranty. Plantings come with a 1-year warranty. We're still around in year 12 if something needs us.
What Homeowners Are Saying About Us
Frequently Asked Questions
1. How much does a pool installation cost in Pennington, NJ?
Pool costs vary depending on size, features, materials, and property conditions. Most custom swimming pool projects in Pennington are tailored to the home and lifestyle. We provide detailed consultations and transparent pricing.
2. Do I need permits to install a pool in Pennington?
Yes. The township requires permits and inspections for most pool installations. Our team handles the permitting process to ensure full compliance with local regulations.
3. Are the weed and pest control products safe for pets?
Yes, we use eco-friendly and pet-safe products that effectively protect your lawn without harming your family or the environment.
4. Do I need a permit for a firepit in Pennington, NJ?
Depending on the size and type, permits or township approvals may be required. We handle the process to ensure full compliance.
5. Do you offer seasonal lawn care plans?
Yes! We have customized plans for spring, summer, fall, and winter to ensure your lawn stays in top condition throughout the year.
6. What type of firepit works best for Pennington properties?
Gas firepits are popular for convenience and clean operation, while wood-burning models offer a traditional ambiance. We recommend the right option based on your yard and usage.
7. Can you help with lawn disease prevention and treatment?
Absolutely! We offer lawn inspections, disease diagnosis, and customized treatments to prevent and manage common lawn diseases.
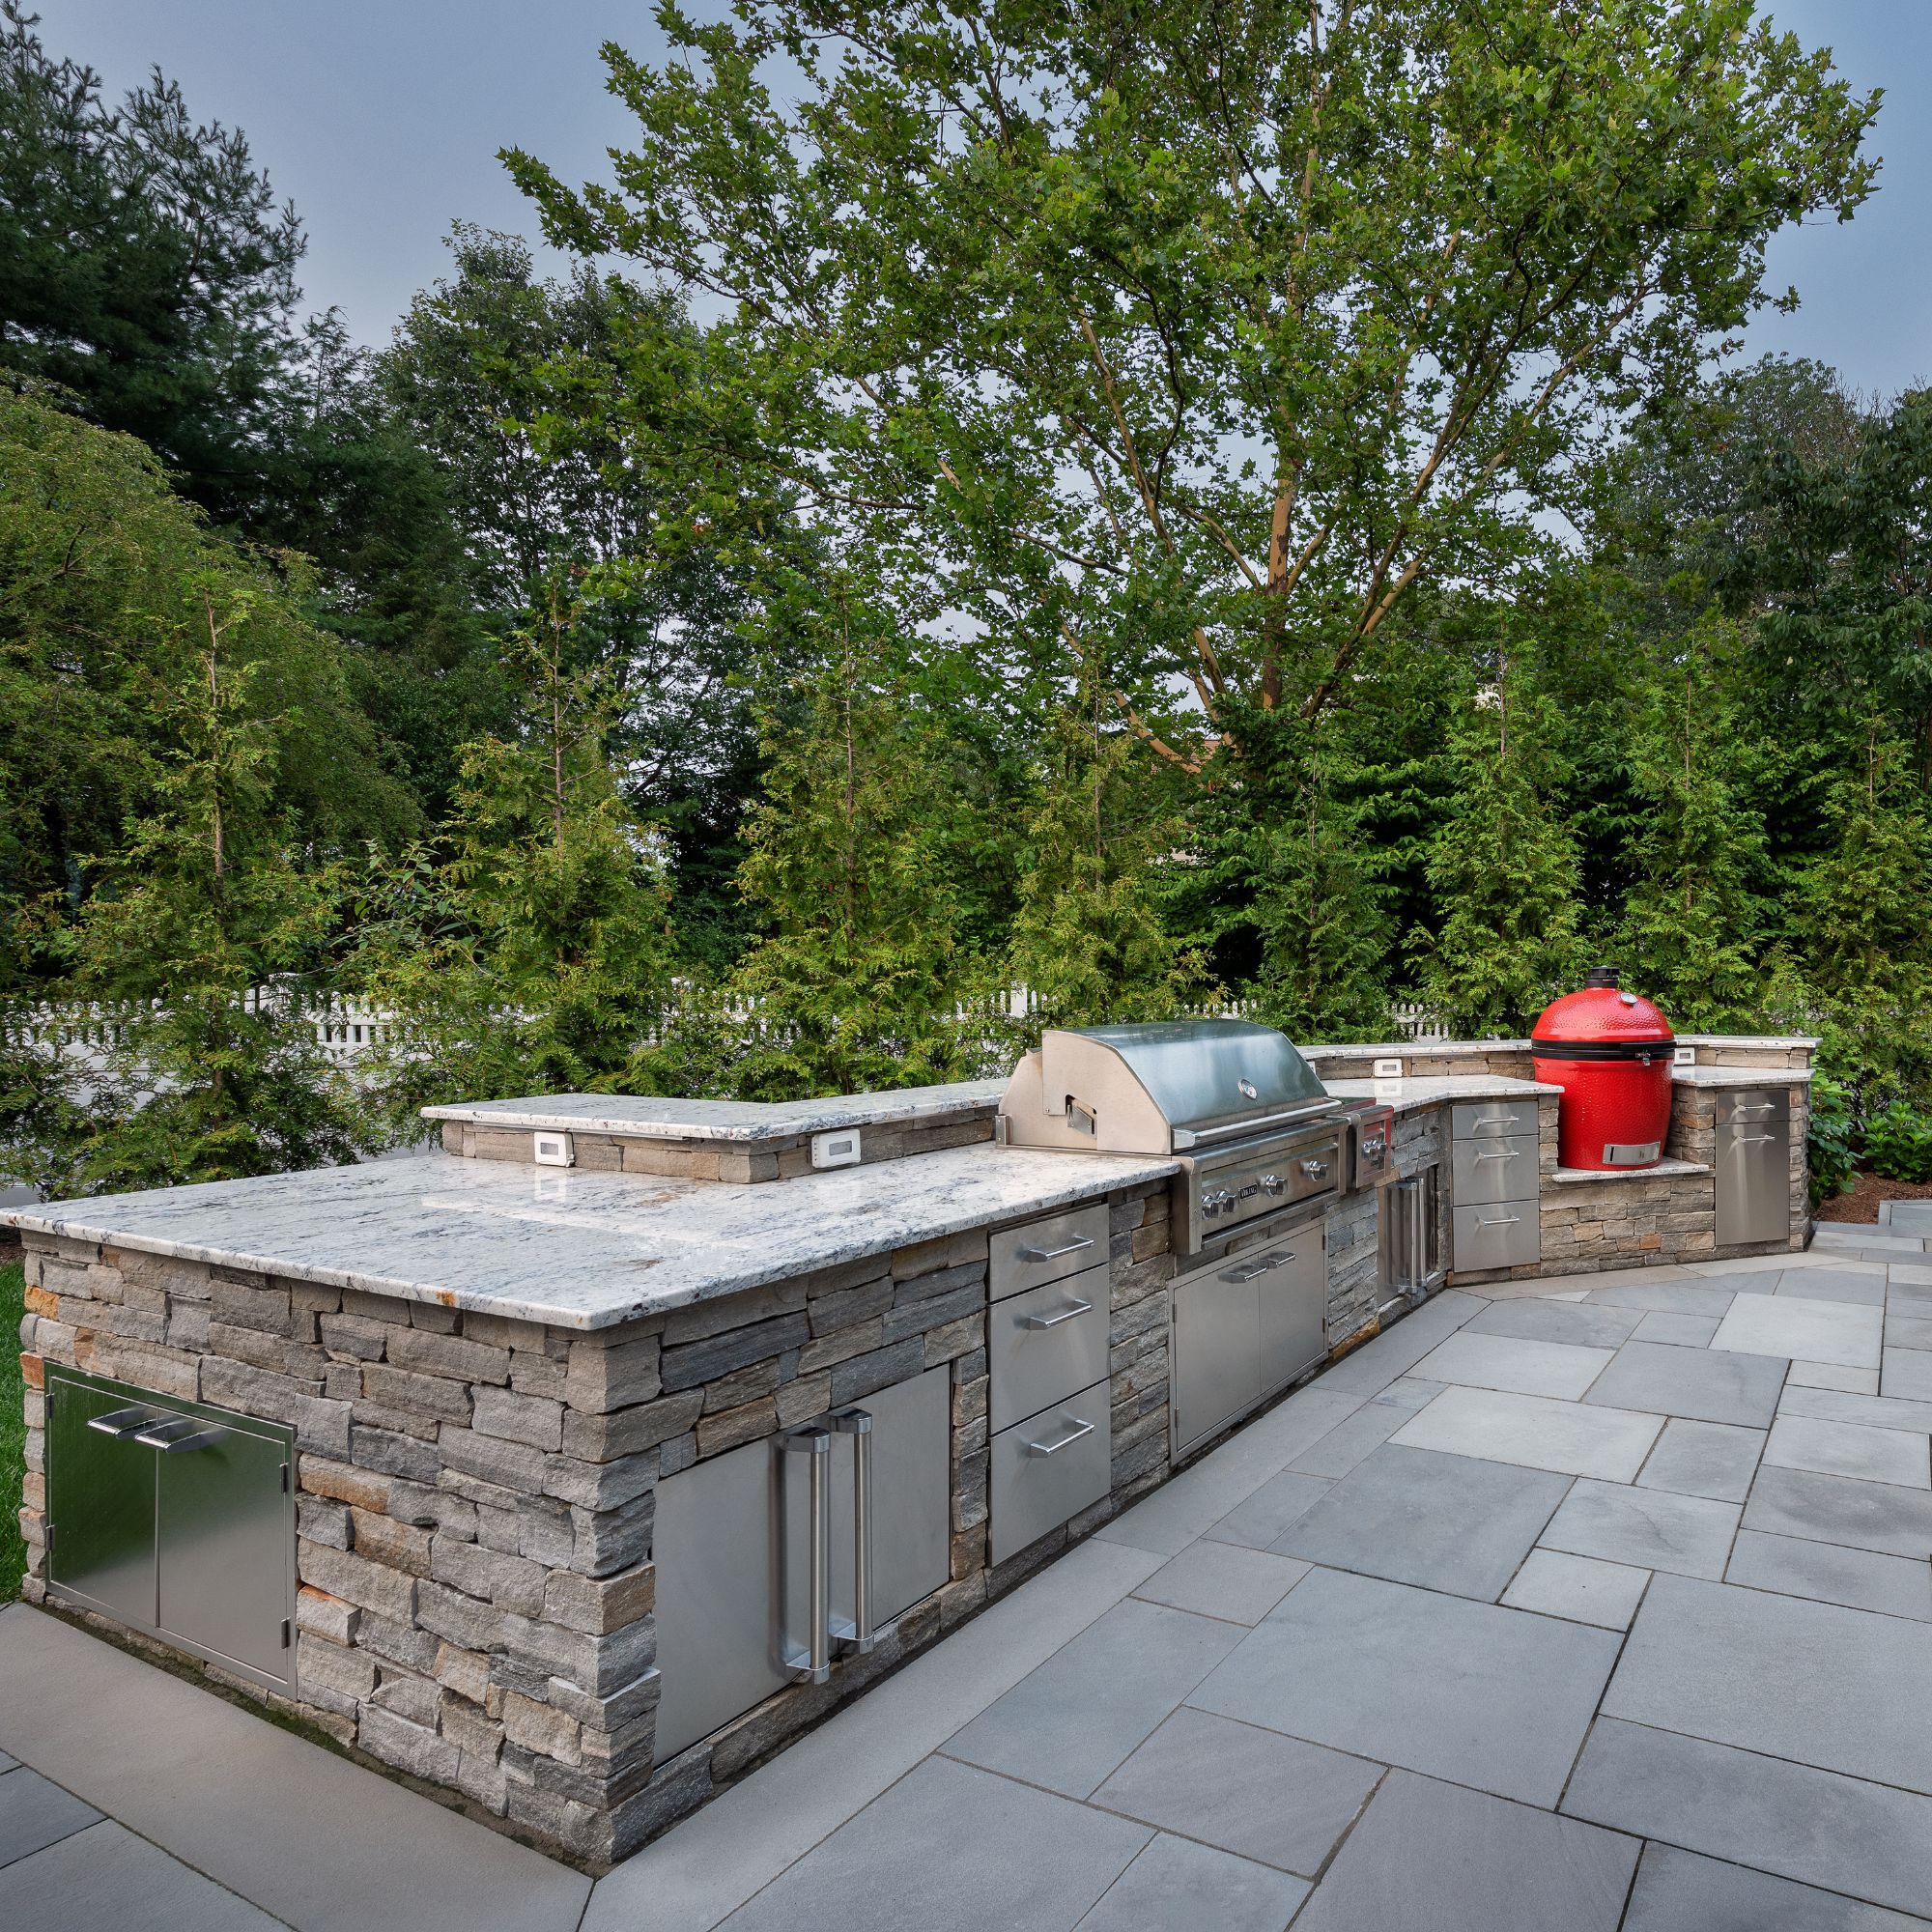
8. How much does an outdoor kitchen cost in Pennington NJ?
Outdoor kitchen costs in Pennington NJ vary based on size, materials, and features. Basic outdoor kitchen installations with a built-in gas grill and simple counter space start around eight thousand to twelve thousand dollars. Mid-range outdoor kitchens with quality outdoor kitchen cabinets, extended counter space, and additional features typically range from fifteen thousand to thirty thousand dollars. Luxury outdoor kitchen designs with premium appliances, extensive coverage, pizza ovens, and high-end finishes can exceed forty thousand dollars.
Delis Landscaping provides transparent pricing during your free consultation. We design outdoor kitchens to match your budget while maximizing value and functionality. Call (609) 737-8200 to discuss your budget and explore options.
9. How long does outdoor kitchen installation take?
Most outdoor kitchen projects in Pennington NJ complete within two to four weeks from start to finish. Simple outdoor kitchen island installations may finish in one to two weeks. Complex projects with covered outdoor kitchen structures, extensive masonry work, or custom features require three to six weeks.
Timeline depends on project scope, weather conditions, and material availability. Delis Landscaping provides realistic schedules during planning and keeps you informed throughout construction. We work efficiently without compromising quality craftsmanship.
10. Do you offer commercial lawn care services?
Yes, we provide residential and commercial lawn care services, including maintenance for office buildings, parks, and sports fields.
More
Tell us about your project. We'll set up a free on-site consultation within a few business days.

Custom outdoor living spaces, hardscape, and full-property landscape design.
Family owned, design-build studio with twenty years of work across Central New Jersey and Bucks County, Pennsylvania, and surrounding area.
Services
Company
Get In Touch
(609) 737-8200
278A N Main St, Pennington New Jersey 08534
Monday - Friday 8:00am – 4:00pm
Service Area: Serving Central New Jersey and Bucks County, Pennsylvania, and surrounding area.
NJ Contractor’s License: #13VH05168500
PA Contractor’s License: #PA071385
DUNS #: 090065625
©Delis Landscaping 2026 All Rights Reserved.